Unleash your inner fashionista by making your own T-shirt! Do you have unique artwork, a meaningful message, or any other design that you want to print on a shirt? Well, you’ve come to the right place. Here is everything that you need to know about making your own T-shirt.
Designing Your T-Shirt
Before even thinking about printing, you’ll have to figure out how to design your shirt. Ask yourself these 3 questions when you are designing your shirt:
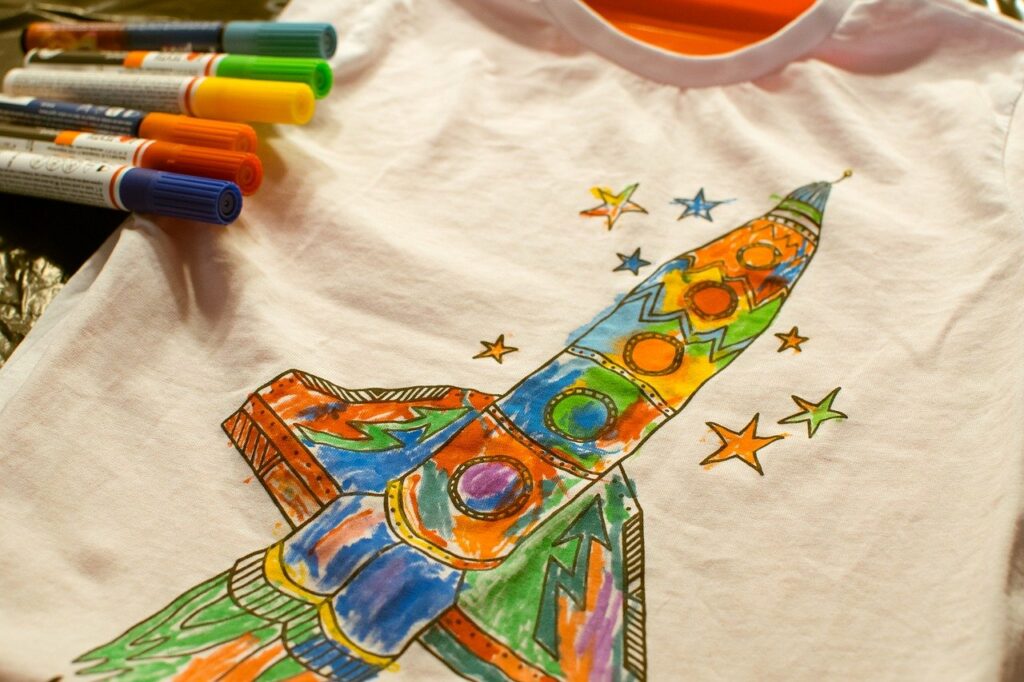
What color shirt? Look at your design. If you have a dark design, use a light-colored shirt. Meanwhile, for a light design, a dark-colored shirt works best.
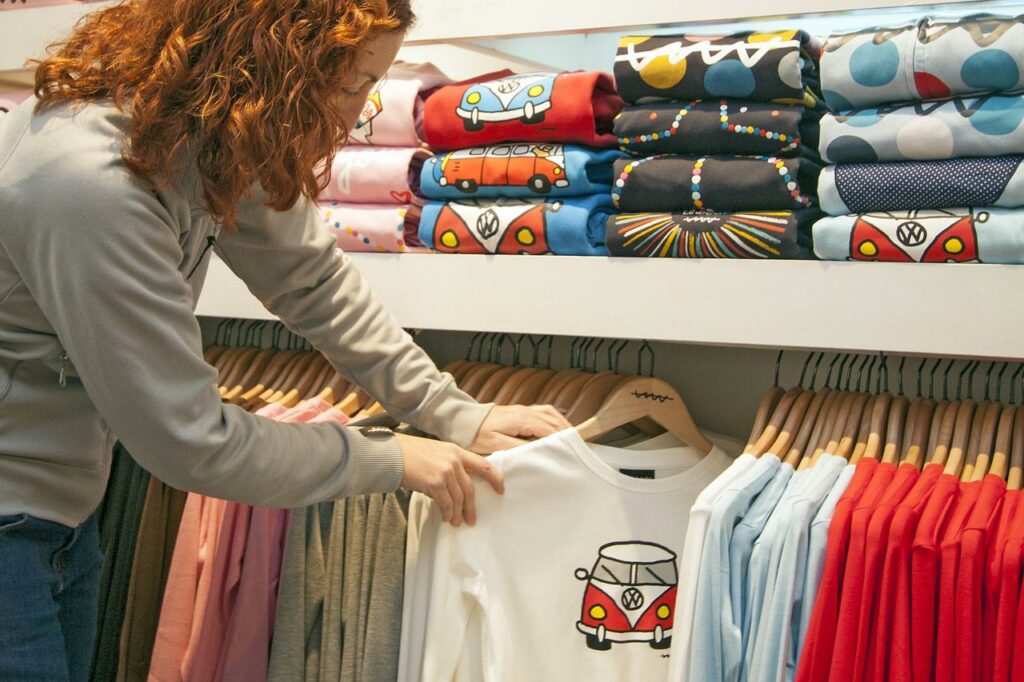
What type of shirt? When shopping for a shirt, it’s important to pay attention to the quality and type of fabric. There are certain fabrics, like cotton, that designs stick to better. Look for high-quality brands, like Hanes or Fruit of the Loom, that won’t fade after the first wash.
How big should the design be? Grab a ruler and your shirt. Measure how big you want the design to be on the shirt, so that you can scale your design perfectly.
Make Your T-Shirt
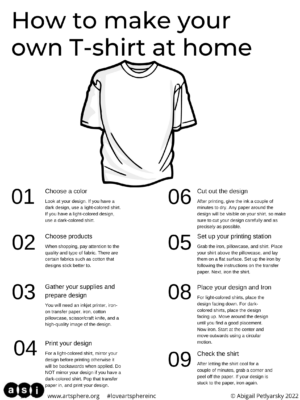
Yes, you can definitely print your shirt professionally. Want to roll up your sleeves, and try it yourself? Follow these 8 steps to make your shirt at home:
1. Gather your supplies. You’ll need an inkjet printer, iron-on transfer paper, t-shirt, iron, cotton pillowcase, and scissors/craft knife.

2. Prepare your design. Make sure that you are using a high-quality image. Print out your design on a regular piece of paper, to test out how it will look on the shirt.
3. Print your design. For a light-colored shirt, mirror your design before printing. Do NOT mirror your design if you have a dark-colored shirt. Now pop that transfer paper in, and print your design.
4. Cut out your design. After printing, give the ink a couple of minutes to dry. Now comes the hard part – cutting your design. Any paper around the design will be visible on your shirt, so make sure to cut your design as carefully and precisely as possible.
5. Set up your printing station. Grab your iron, pillowcase, and shirt. Place your shirt above the pillowcase, and lay them onto a flat surface or ironing board. Set up your iron by following the instructions on the transfer paper. When the iron is hot, iron the shirt until there are no wrinkles.
6. Place Your Design. For light-colored shirts, place your design facing down. For dark-colored shirts, place your design facing up. Look closely at your design. Does it look good on the shirt? Feel free to move or center your design until you find an image placement that works for you.
7. Time to iron. Now that your design looks good, you can start ironing it onto the shirt. Ironing your design can take seconds or minutes, depending on your transfer paper’s instructions. Start at the center of the image, and use circular motions to slowly work your way outwards. Use a consistent, gentle pressure, and keep moving the iron for even heating.
8. Check Out Your Shirt. After you’ve let everything cool for a couple of minutes, grab a corner and peel off the paper. If your design is stuck to the paper, iron it again. Once you get all that paper off, you can wear your shirt immediately.
Making shirts at home is fun right? Keep going and who knows… Maybe one day you’ll be a famous fashion designer, like Michael Kors, Vivienne Westwood, and Virgil Abloh.
Handout