Students first draw the blueprint of the house by drawing a large rectangle and divide it into two parts with a straight vertical line. The first rectangle, which will be the main door, should be longer than the second one, the hallway. One of the goals of this lesson is to teach you to identify the correct proportions.
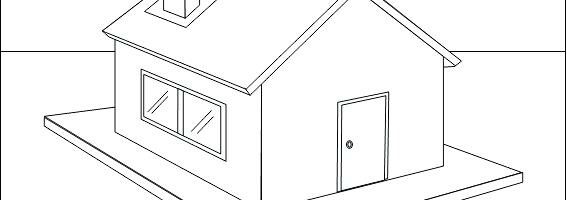
Then we continuing contouring of the roof and the doors. After marking the top of the roof coming from the middle of the left-hand side part of the house, students draw lines through the entire house starting from the right. This line will separate the roof from the walls of the house. Windows and door were also added to the house.
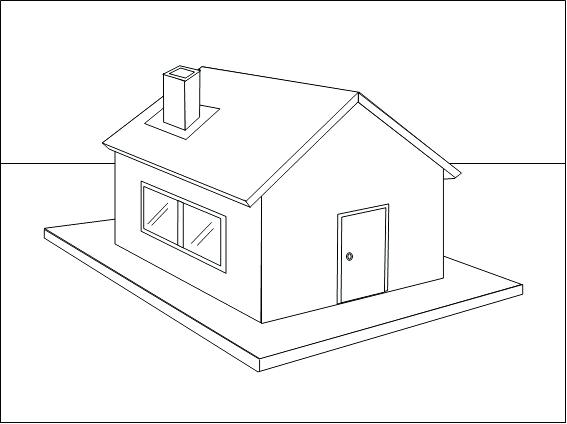
Next we add details to the house The roof is rarely completely symmetrical, so we try to give it an interesting shape. Add one more layer of foundation to the bottom of the house. Draw a small rectangle on top of slightly bigger rectangle near the vertical dividing line – this will serve as a funnel. Connect the walls to the roof on the left-hand side of the drawing.
Final step is putting colors to the farm houses. We learn about the color wheels and the relationships between warm colors and cold colors.