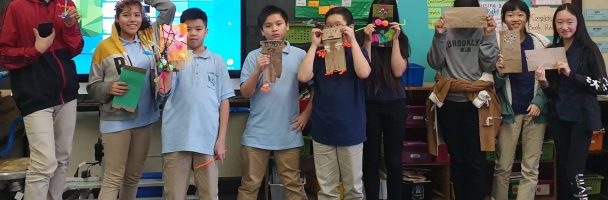
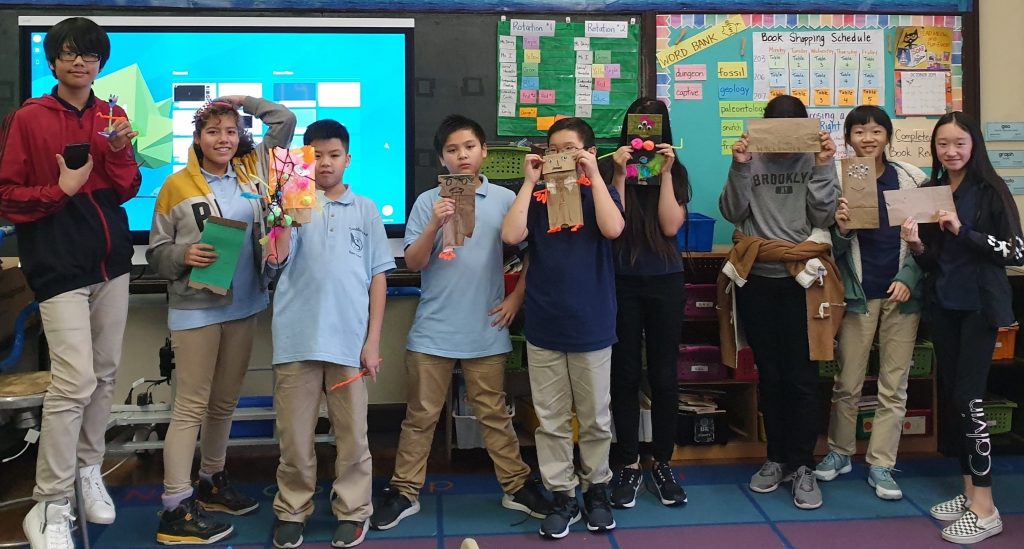
ASI Literacy / S.T.E.M. Program Fall 2019
- Chain Reaction Mystery: Part 1:
Goals and Objectives: The goal of this experiment is to get students more involved and interested in science. this experiment revolves around energy which is very important in the fields of physics, chemistry and engineering. We also aim to provide a safe environment for them to learn, express themselves freely, and learn how to work with others.
Steps: -On the ramp handout, cut on the THICK black lines
-Fold the solid lines and cut on the dotted lines
-Fold in half where the diamond is located and create a triangle and make two cuts to cut it out
-On the tilt platform, fold side flaps in and the back flap up and over
-secure this with your paper clip
-line up ramp and tilt platform and tape
-set tilt ramp on larger cup and tape to secure
-To make a lever, place the marker in the center of the ruler (like a seesaw) and rubber band together
-The lever needs to touch the tilt platform. Discuss resolutions to make this happen. We moved the marker to the end of the ruler, rather than the middle
-fold the marble corral handout and place the cup at the end of the ramp with the marble corral underneath and around it
-Place the marble at the top of the tilt platform and test it out!
Materials: Chain reaction starter kit handout, marble corral handout, scissors, tape, paperclip, marker, ruler, rubber band, Dixie cup, larger cup
2. Chain Reaction Mystery: Part 2:
Goals and Objectives: The goal of this experiment is to get students more involved and interested in science. this experiment revolves around energy which is very important in the fields of physics, chemistry and engineering.
Steps: -On the ramp handout, cut on the THICK black lines
-Fold the solid lines and cut on the dotted lines
-Fold in half where the diamond is located and create a triangle and make two cuts to cut it out
-On the tilt platform, fold side flaps in and the back flap up and over
-secure this with your paper clip
-line up ramp and tilt platform and tape
-set tilt ramp on larger cup and tape to secure
-To make a lever, place the marker in the center of the ruler (like a seesaw) and rubber band together
-The lever needs to touch the tilt platform. Discuss resolutions to make this happen. We moved
-the marker to the end of the ruler, rather than the middle
-fold the marble corral handout and place the cup at the end of the ramp with the marble
-corral underneath and around it
-Place the marble at the top of the tilt platform and test it out!
Materials: Chain reaction starter kit handout, marble corral handout, scissors, tape, paperclip, marker, ruler, rubber band, Dixie cup, larger cup
3. Rainbow Walking Water Experiment:
Goals and Objectives: The goal of this project is to teach students about the characteristics of fluids. The main focus of this is to learn the capillary action of water which is a significant subject in mechanics of fluids and for civil, environmental, mechanical and water system engineers.
Steps: begin this experiment, line up 2 cups and fill each halfway with water
Add a different color food dye to each cup, about 5 drops. We started with blue and yellow to make green
Next, fold the halved paper towel in half again and drape the ends in each cup
Now, the water, along with the food dye, will travel up the paper towel and mix at the top and make green.
You make this experiment bigger by adding cups and using all the colors
Materials: half sheets of paper towels, plastic cups, food dye, water
4. Color Wheels and Walking Water:
Goals and Objectives: This project highlights one of water’s unique characteristics, surfaced Tension. The objective of this project is to promote critical thinking by letting students guess the colors that will develop. An important goal of ours is to create a safe space for students to talk freely and work with others.
Steps: We split the classes into group of two or 3 and gave them 2 cups of water and a paper towel. We had them decide what color they wanted to make and pick which two primary colors they needed to use to make that color. They made each cup of water a different color with food dye and then placed each end of the paper towel in each cup. The water immediately gravitated up the towel, bring the color with it.
Materials: towels, plastic cups, food dye, water
Imprinting Fall:
Goals and Objectives: One of our main goals is to show our students that science is fun. imprinting leafs is widely used by biologist, chemists, and botanist. In this project the students created their own fall leaves with paint, crayons, and leaves from outside.
Steps: place the paper over the leaf and used a crayon or paint to go over it.
Materials: paper, paint, brushes, leaves
5. Day of the Dead + Paper Flowers:
Goals and Objectives: Today’s theme is a little bit different, our goal was to educate our students about holidays of other cultures. We also made flowers to decorate the classroom.
Steps: make a skull cutout, decorate it, then color it.
Materials: paper, scissors, tape, glue, paint, color pencils.
6. Electrifying Static and Fall transformation:
Goals and Objectives: The first part of this class students decorated their classroom with butterfly cutouts. Then we did a static experiment. This experiment allows them to seek out static electricity or even create their own. They are also able to teach themselves what causes it and what affects it more or less.
Materials: paper, scissors, plastic balls, colored pencils.
7. Can you build a chain reaction?:
Goals and Objectives: The goal of this experiment is to get students more involved and interested in science. this experiment revolves around energy which is very important in the fields of physics, chemistry and engineering.
Steps: -On the ramp handout, cut on the THICK black lines
-Fold the solid lines and cut on the dotted lines
-Fold in half where the diamond is located and create a triangle and make two cuts to cut it out
-On the tilt platform, fold side flaps in and the back flap up and over
-secure this with your paper clip
-line up ramp and tilt platform and tape
-set tilt ramp on larger cup and tape to secure
-To make a lever, place the marker in the center of the ruler (like a seesaw) and rubber band together
-The lever needs to touch the tilt platform. Discuss resolutions to make this happen. We moved the marker to the end of the ruler, rather than the middle
-fold the marble corral handout and place the cup at the end of the ramp with the marble corral underneath and around it
-Place the marble at the top of the tilt platform and test it out!
Materials: Chain reaction starter kit handout, marble corral handout, scissors, tape, paperclip, marker, ruler, rubber band, Dixie cup, larger cup
8. Salty Painting Experiment:
Goals and Objectives: This experiment highlights chemical reactions, and absorption. The goal of this project is to get students excited about chemistry and science in general. Another important goal of ours is to create a safe space for students to talk freely and work with others.
Steps: Fill plastic cups up with about a half a cup of water. Then, add one color of food coloring to each cup. We use about 10 drops. The more food coloring you use, the darker the color will be. take the paint out of the plastic holder and place each color into a cup. Then, add about a half a cup of warm water. Watch as the water begins to turn colors. You may need to stir the colored water mixture until the paint is dissolved. drop the colored water or paint onto your writing or drawing, one drop at a time. Then, observe as the colors spread as they are absorbed by the grains of salt.
Materials: Card Stock or Mix Media Paper, Pencil, Bottle of White Glue, Table Salt, Liquid Watercolors, Food Coloring, or Watercolor Paints, Pipettes or Droppers, Small Plastic Cups, Tray, Baking Dish, or Box
9. Reactive paintings:
Goals and Objectives: This experiment highlights chemical reactions. The goal of this project is to to get students excited about chemistry and science in general through art.
Steps: We put equal parts water and baking soda in four cups per group and added a different color food dye in each cup. This was our “paint”. Next, each student had a piece of paper and was able to begin painting. We had them stir up the mixture in order to incorporate a good amount of baking soda to be applied on their paper. Their overall goal was to use the four colors to create an abstract picture that blended together and was in the correct order of the color wheel. When they were finished, we passed out straws and cups with vinegar. They used the straws to drop vinegar onto their paper and create the ultimate reaction. The vinegar combined with the baking soda on their painting and bubbled and fizzed.
Materials: baking soda, vinegar, cardstock, food coloring, water, small cups, droppers or straws, and paintbrushes.
Additional Projects:
10. Earth model:
Goals and Objectives: The purpose of this experiment is to teach students about the earth and it’s layers.
Steps: 1. Roll a small ball of red clay to represent the inner core of the earth.
2. Roll out a circle of orange clay. Cover the red ball. This represents the outer core.
3. Repeat this procedure for the yellow mantle, the brown crust, and the blue ocean.
4. Use the green to create the continents, if you like.
5. Cut the ball in half so that you can see each of the earth’s layers. Use a toothpick or paper to label the layers.
Materials: clay in red, yellow, orange, brown, blue, and green