
Title/Description: Halloween Silhouette
Level: Elementary school
Duration: One 45-minute class period
Historical Overview: Halloween symbols – pumpkins, ghosts, blackbirds, monsters
Goals and Objectives: Students will be able to demonstrate how to draw, cut, and glue
Vocabulary: Overlapping, silhouette, contrast
Materials: Scissors, chalk/pastel, glue, construction paper (black, orange, white, purple), markers
Procedures:
Day 1
- On black construction paper, draw blackbird silhouettes with chalk and cut out.
- On orange construction paper, draw pumpkins with markers and cut out.
- On white paper, draw ghost silhouettes with a black marker and cut out.
- On purple construction paper, glue silhouettes and make a Halloween scene.
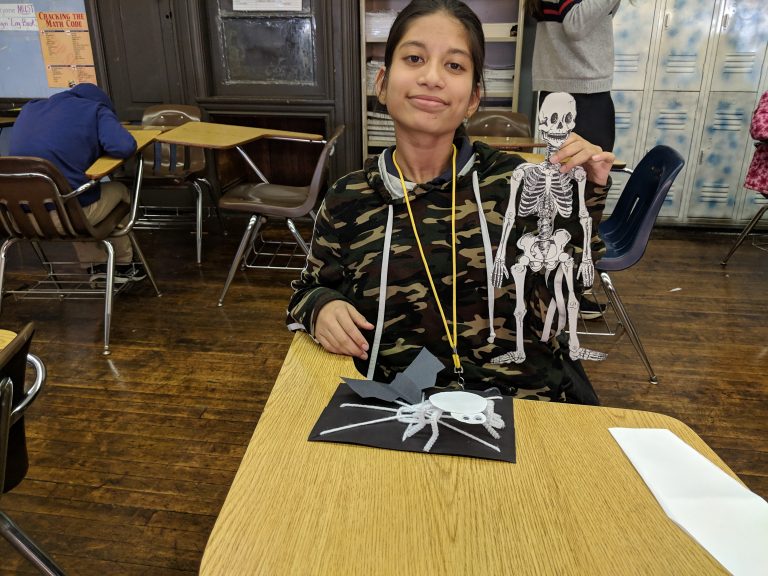
Title/Description: Q-tip Skeleton
Level: Elementary school
Duration: One 45-minute class period
Historical Overview: Skeletons and anatomy
Goals and Objectives: To assemble a skeleton with proper anatomy
Vocabulary: Overlapping, 3-D
Materials: Black construction paper, white computer paper, Q-tips, googly eyes, glue
Procedures:
Day 1
- Anticipatory Set: Discuss skeletons, bones, and joints. Show an example of the project and explain how the points where Q-tips meet are joints.
- Cut skulls out of white paper and glue onto black paper.
- Use Q-tips to create the skeleton, including the spine, ribs, arms, legs, hands, and feet.
- Glue googly eyes on the skull.
Title/Description: 3-D Paper Monsters
Level: Elementary school
Duration: One 45-minute class period
Historical Overview: Halloween monsters
Goals and Objectives: To encourage students to use their imagination and create their own monsters
Vocabulary: Overlapping, expression, origami
Materials: Square paper, scissors, glue, googly eyes, pom-poms, pipe cleaners, markers/colored pencils/crayons
Procedures:
Day 1
- Create an origami cup using these instructions. Fold the back flap inside the cup to have a smooth front for the monster’s face and turn upside-down.
- Decorate to look like a monster using googly eyes, paper cut into the shape of teeth or spikes, and pom-poms.
- Poke holes for pipe cleaners close to the edges of the monster and pull one pipe cleaner through for two arms.
- Color for extra details.
Title/Description: Peek-a-Boo Cat Card
Level: Elementary school
Duration: One 45-minute class period
Historical Overview: Black cat myths and Halloween messages
Vocabulary: Overlapping, silhouette
Materials: Orange, black, and yellow construction paper, scissors, glue, black sharpie, white crayon
Procedures:
Day 1
- Fold the orange paper in half to make cards.
- Draw a basic outline of a cat on black paper and cut out.
- Cut eyes from yellow paper and use black sharpie or marker to draw pupils.
- Draw mouth and whiskers with white crayon on cats.
- Place cats on edges of orange paper at an angle and glue.
- Trim the cats to be even with the edges of the card.
- Use the interior of cards to write Halloween messages.