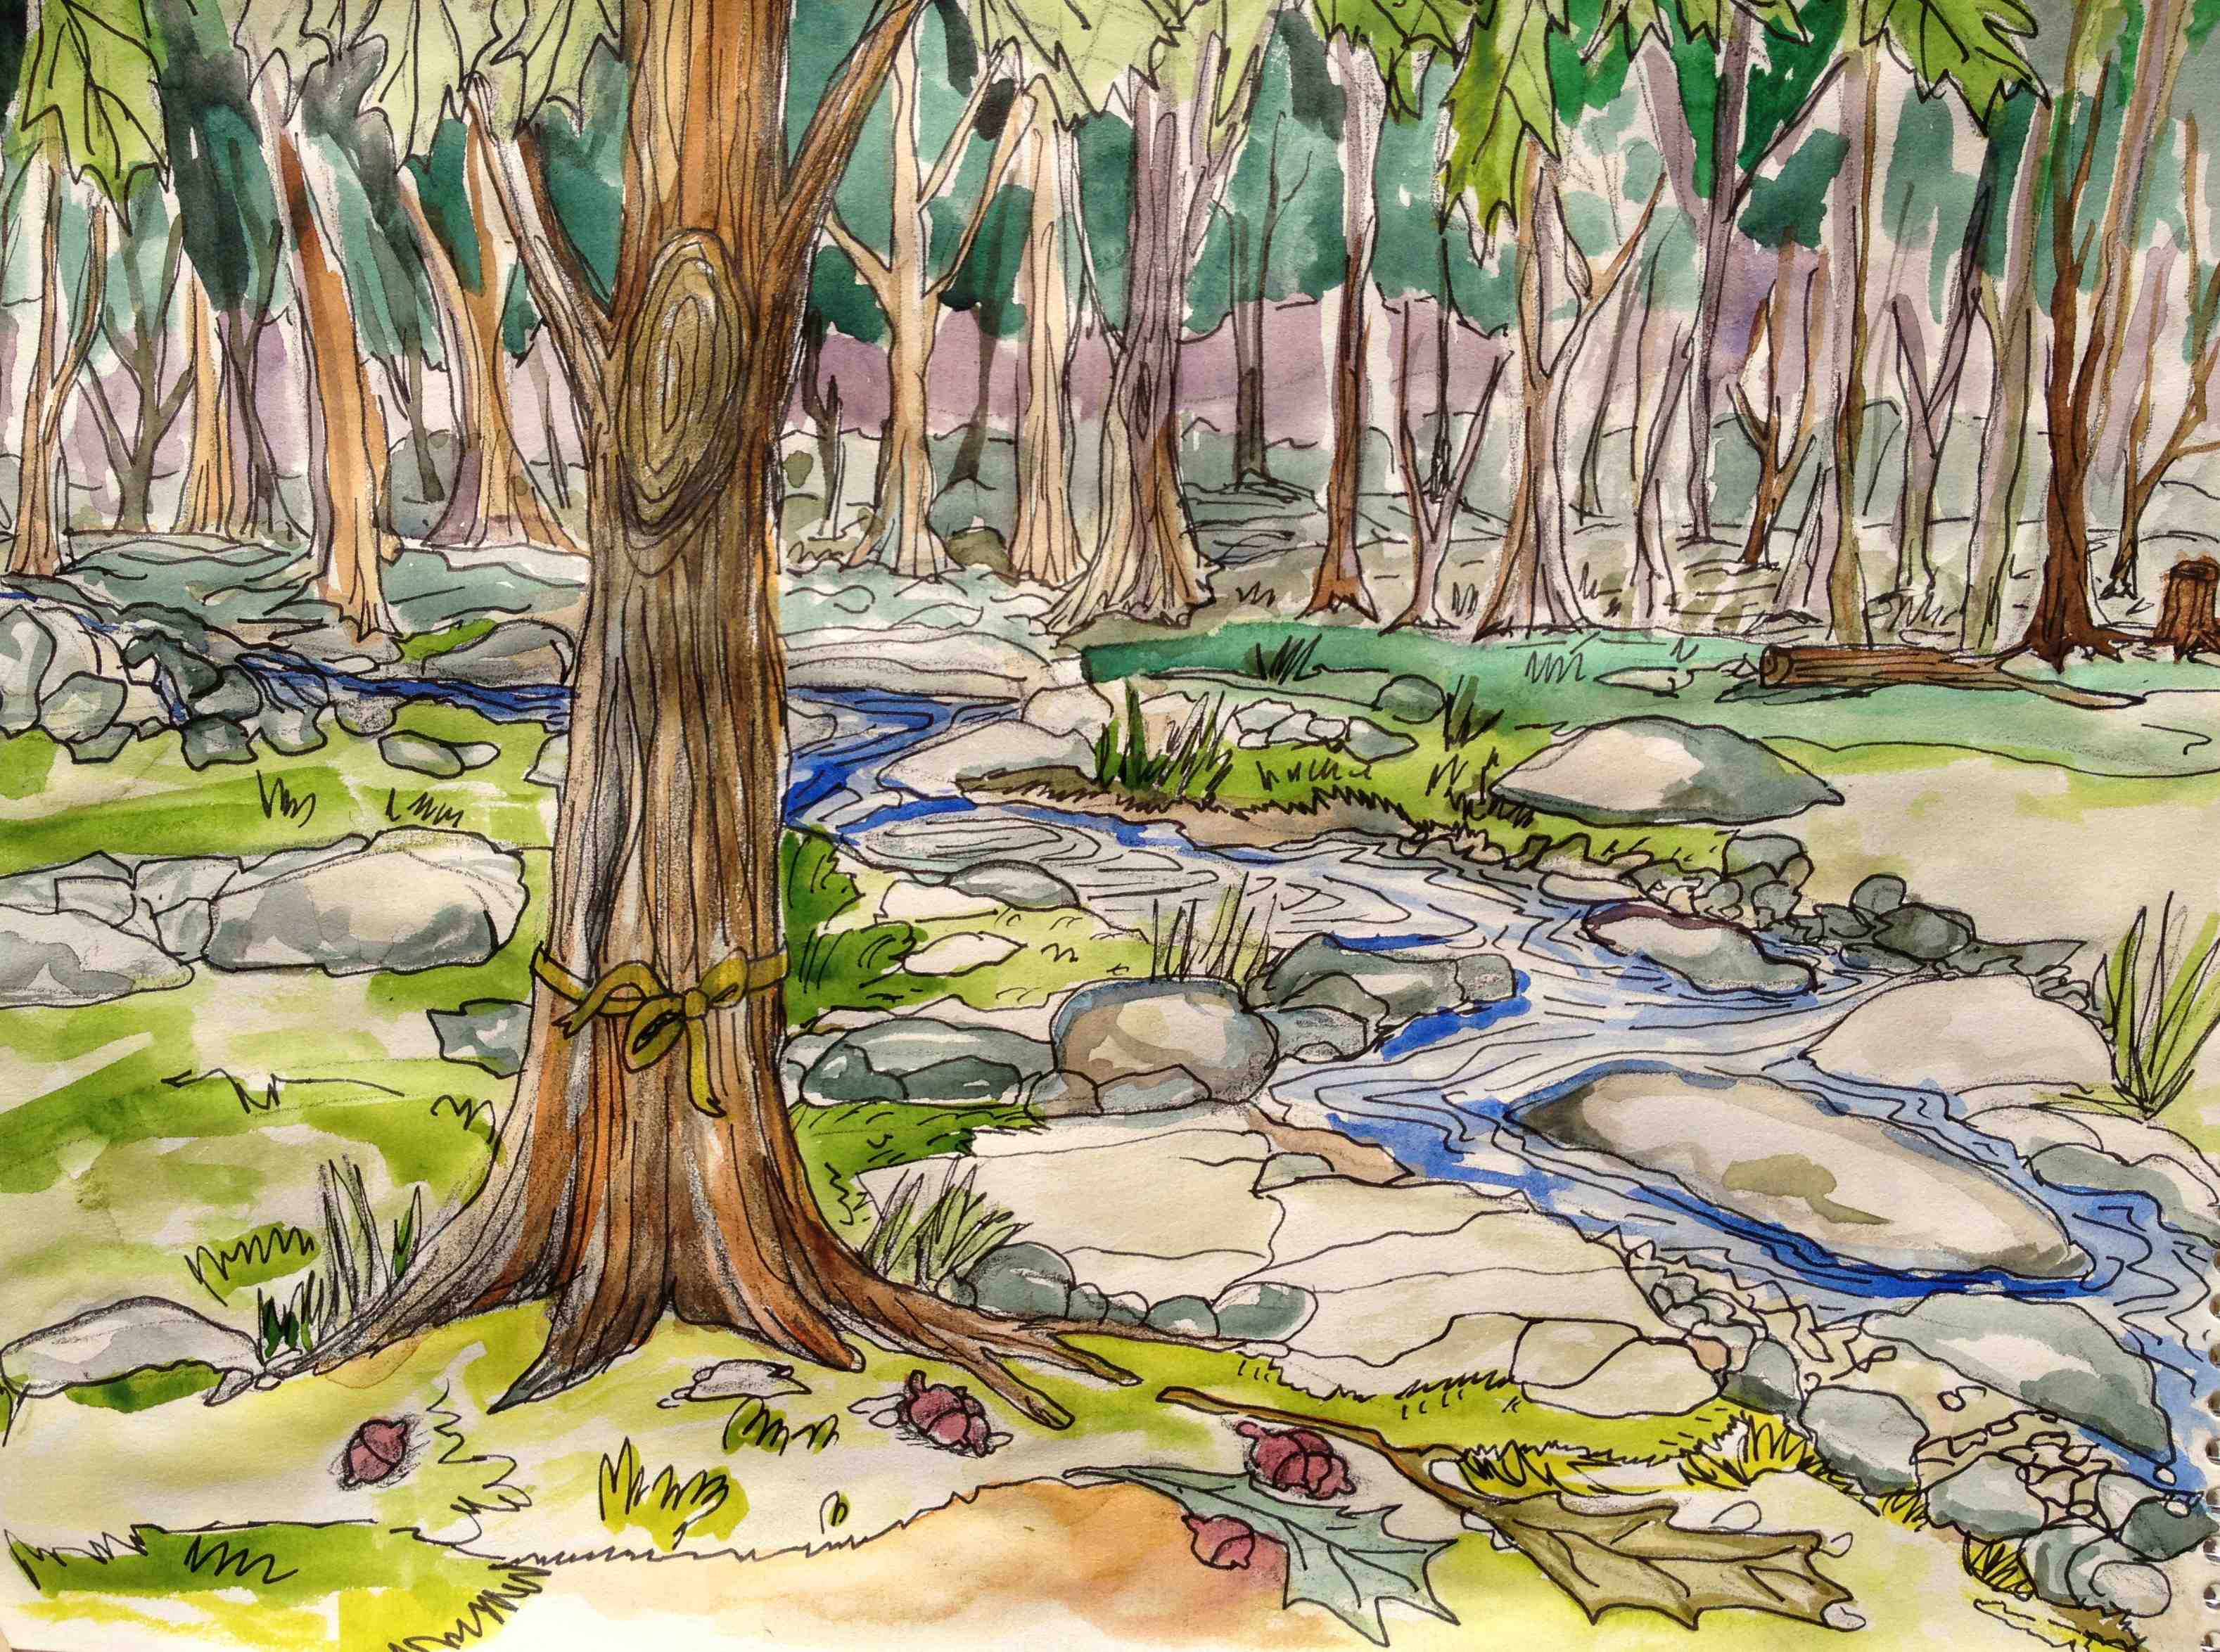
Overview: Students work within an overall theme of “Celebrating Diversity” to create a mural. Students work together in teams of four to six students. These groups work independently on the mural project using watercolor paper panels, which have been divided into equal sections for each group. Groups use stencils, watercolors, and water-soluble colored pencils to represent the class theme of “Celebrating Diversity.”
At the completion of the assignment, the class as a whole assembles the paper panels, connecting them with linen tape to create a mural that represents the class view of “Celebrating Diversity.”
Art Vocabulary:
- Symbol – An object or color that represents something else.
- Stencil – A tool that is traced to make a shape or letters and can be used with different drawing or painting media.
- Positive space – The space in a work of art that is taken up by an object.
- Negative space -Empty space in a work of art that creates a shape.
- Mural – A painting or collage applied directly to a wall or ceiling.
- Overlap – When an object or shape is partially covering another.
- Variety – Many different types of one thing in a work of art.
- Warm Colors – The colors red, orange, and yellow.
- Cool Colors – The colors blue, green, and violet.
- Emphasis – The most important part of a picture made by placement, size, and/or color.
- Contrast – Showing a difference between objects.
- Value – The lightness or darkness of a color.
Directions: On a file folder, draw a 2×2 inch symbol to represent who you are. Carefully cut out symbol so you can use both the positive and negative shape as a stencil.
Plan arrangement of stencils on scrap paper before sketching on watercolor paper. Experiment with painting and stencil techniques on scrap paper.
IMPORTANT FOR CREATING MURAL UNITY: Paint and color inside letters with cool colors with a predominance of blue. Paint and color outside letters with warm colors. Trace stencils, paint stencils, and/or color with water-soluble colored pencils blended with water.
Reflection: What’s in a name? How can others identify your work without your name? How would they identify your chosen career? With what symbol would you want them to identify you?
Discussion: Share with others and learn one anothers’ reason for choosing a particular symbol. Pass your symbol to your group and ask them to tell you what your symbol means to them. What could this say about you if it was used in combination with the symbol of another group member? Remember that the evolution of written language started with the use of pictograms.
Watercolors: How are watercolors different from other media?
Watercolor paints are often more fluid or flowing than other paints. They are sometimes diluted and transparent rather than opaque. Watercolor paints are not built up in thick layers. Sometimes you can even see patches of paper left unpainted. You usually cannot paint over mistakes the way you can with other paints. You will see the history of marks—the evolution of your ideas!
Materials: One large piece of watercolor paper (9” x 12” or larger) per group, scratch paper, file folders, scissors, watercolor paints and brushes, water-soluble colored pencils, containers for clean and dirty water (styrofoam or plastic cups are fine), newspapers for covering desks/tables, and paper towels for blotting brushes and spills.
Watercolor Techniques:
Wet-on-Wet Technique; Creating a Wash: Wet-on-wet simply means you are painting with a wet brush on wet paper. A wash is a very thin coat of paint. You can still see the paper underneath a wash, as it is transparent. Washes are good for flat, light areas, such as sky or a large body of water.
Take a thick brush and paint clean water evenly across your paper. The paper should become wet but not drippy—no puddles. Select a color and paint across the paper in a horizontal band. Continue with the same color or choose another color and paint a band next to it. Colors bleed and blend together where they meet.
Wet-on-Dry Technique: This technique is well-suited for the painting areas that require greater control and more saturated colors, as in the foreground of a landscape. Wet-on-dry means you work with a wet brush on dry paper. Paint abstract shapes and lines. Experiment with the brush and the amount of paint and water that you use. Blend colors and note how they bleed when they hit other wet spots and stay put when they are applied to dry paper.
Dry Brush Technique: By blotting your brush dry and applying it to dry paper you can get interesting textures, hard edges or very saturated colors. Try out different brushes, brushstrokes, and quantities of paint.
Tip: As you work, rinse brushes thoroughly between colors to keep paints clean.
Color mixing/color wheel resources:
https://sciencecastle.com/sc/index.php/experiments/view/285
Color mixing digitally resources: https://www.exploratorium.edu/wsw/projects/color_mixing_lab/index.html

