Introduce students to a basic form of mono-printing that can be done at home using everyday materials.
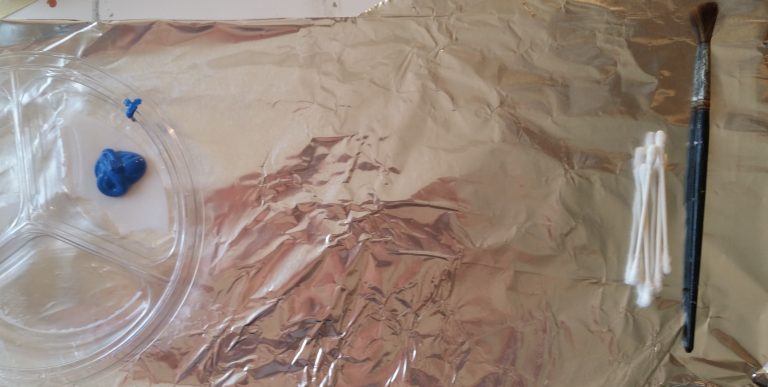
Materials
Tinfoil
Paint
Paper
Plastic utensils
Cotton swabs
Prep
Organize reference materials to show students a sample of prints. Cut and flatten rectangles of tinfoil to use as a printmaking surface. Cut paper for pulling prints. Gather tools for mark-making. Pass out aprons. Remind students to be respectful of neighbors and not to begin until instructions have been given.
Directions
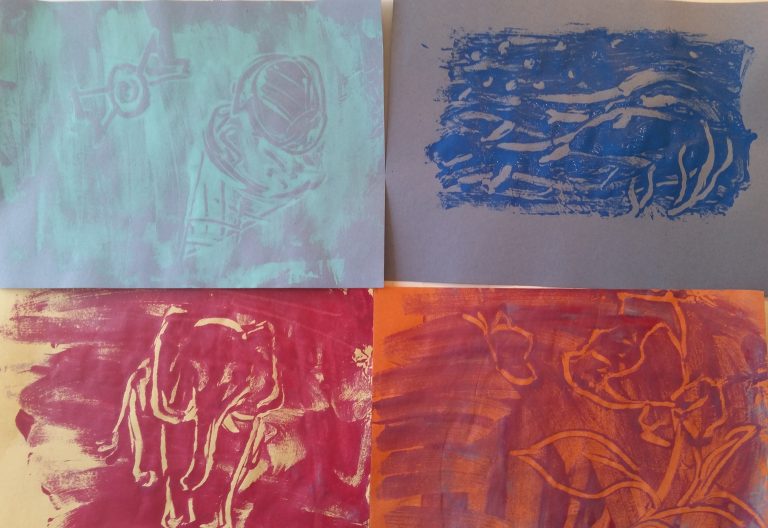
1. Explain mono printing as a type of printmaking technique.
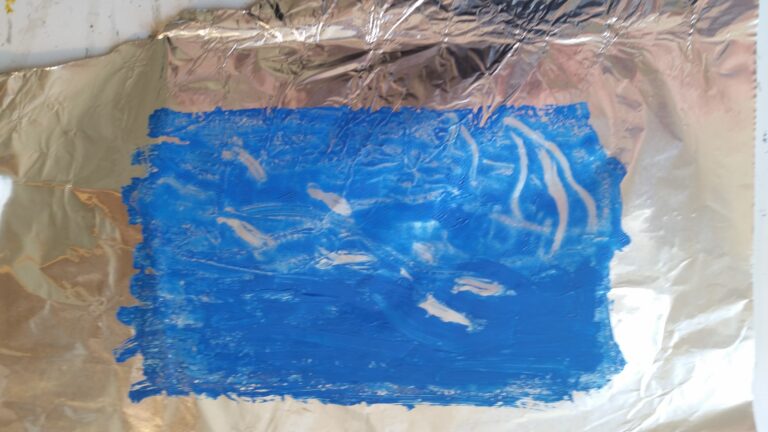
Show students samples, talk about what they see. In front of the class, demonstrate how to paint onto the tin foil, working back in to make textures with utensils, cotton swabs, or a paintbrush.
2. Encourage students to draw, scribble, create lines, or tick marks into the paint.
If the paint dries too quickly, lightly mist the tinfoil surface with a spray bottle of water before printing.
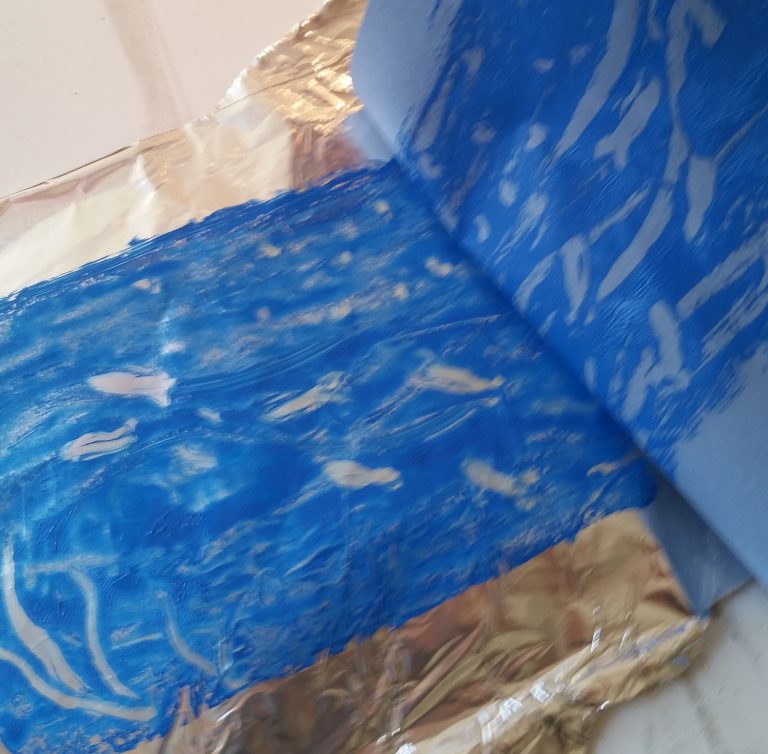
3. Pat a piece of paper gently into the tin foil and pull paper from foil to create an original mono print.
4. Repeat the process if necessary.
Assistant Teachers:
Help distribute paint, tin foil, brushes, and paper. Walk around to assist students in creating designs or drawings in the paint. When they are ready, help them gently press their paper into the foil to pull a print. Make sure names are on the paper and hang prints to dry as soon as students finish, and offer additional paper if time allows.