Printmaking with Stamps Lesson Plan

Lesson

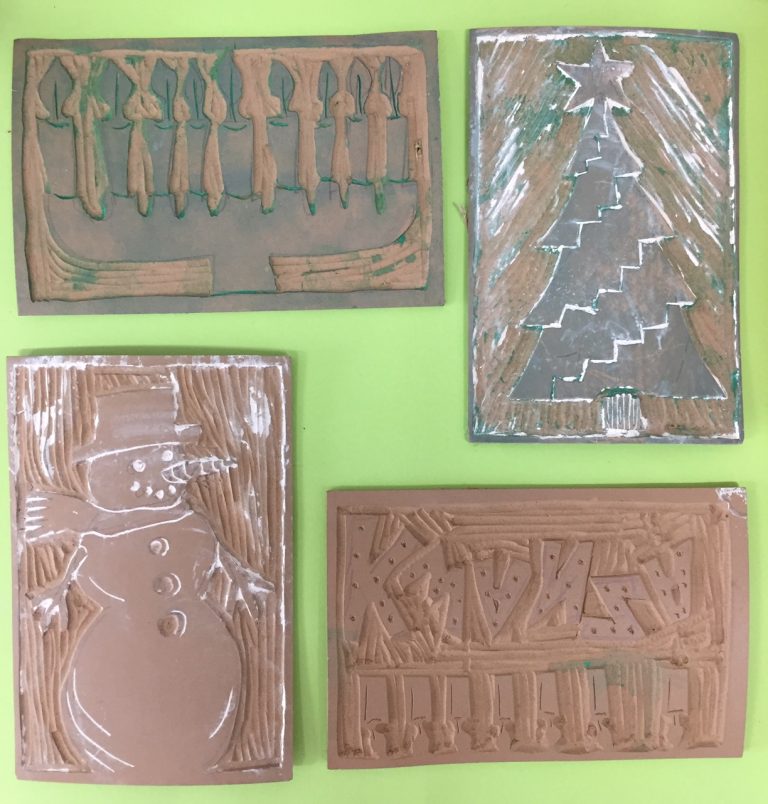
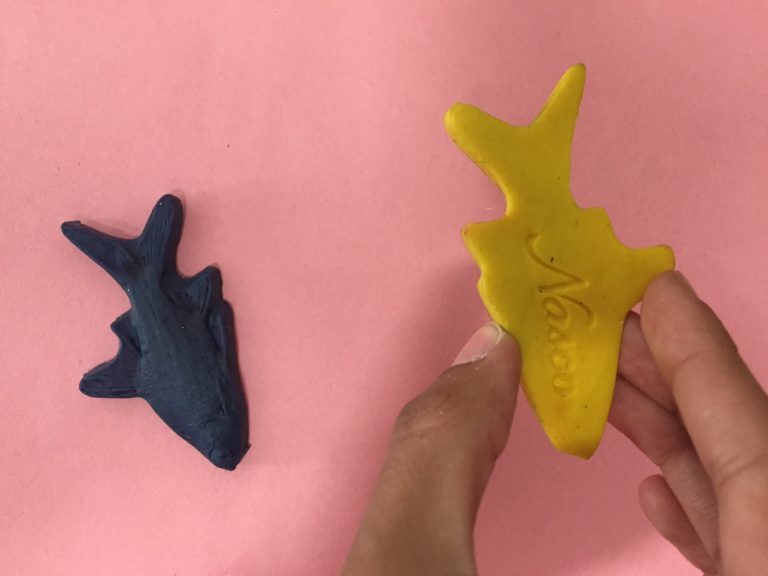
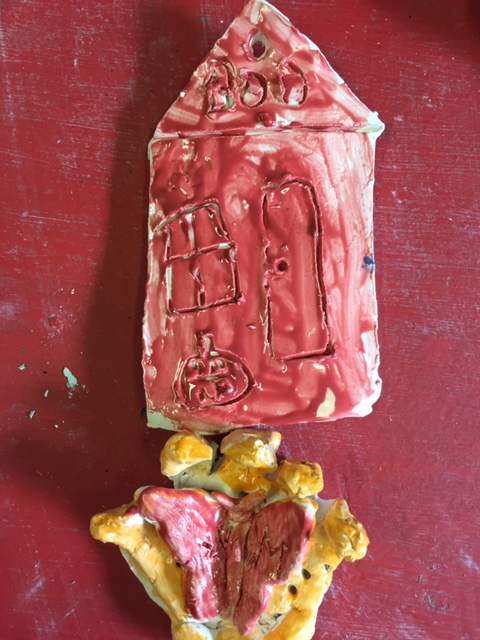
Use stamps for printmaking.

Recommended Ages

Elementary

Vocabulary

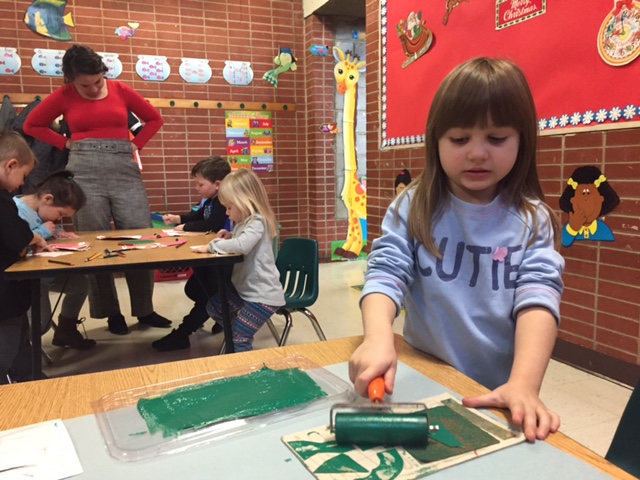
Brayer – printing tool, used to roll out ink

Ink – colored liquid used to write or draw with

Screen Printing – printing process, using a stencil process on a silk/nylon porous screen and pushing ink through the openings

Squeegee – usually a rubber object used in screen printing to press ink or paint through the screen openings

U-gouge – tool used for carving (usually printing blocks), blade point is shaped like a “U” 

Veiner – tool used for carving (usually printing blocks), blade point is shaped like a “V”

Materials 

Block Ink, Fabric Ink, Tempera Paint, Washable Markers, or Stamp Pads

Newspapers

Paper Towels

Paper or Fabric or Printing

Foam Brayers, Stamp Pads, or Brushes

PLEASE NOTE: If you are printing on fabric, you must use fabric ink and heat set.

Directions

Inking 

1. Cover the surface of your work area with newspaper.

2. Use a large stamp pad, marker, or brayer to coat your stamp.Try to avoid using heavy-bodied paints or thick inks–they tend to clog the detail and effect quality when printing.

3. Cover any extra ink on the work area around the stamp with clean newspaper. This will prevent any blotches or unwanted ink/paint from getting on your printing paper or fabric.

General Printing

1. Holding onto the edges of the stamp, press onto the desired surface gently. Applying too much pressure will cause your print to smudge.

2. Carefully remove the stamp by pulling straight up off the surface to avoid smudging.

2. If you are using the same color ink /paint for your next print, you can reapply another coating right away and repeat the print process. If you want to use a different color for your next print, simply wash the stamp in the warm, soapy water and pat dry with a paper towel. You may then proceed with a new color.