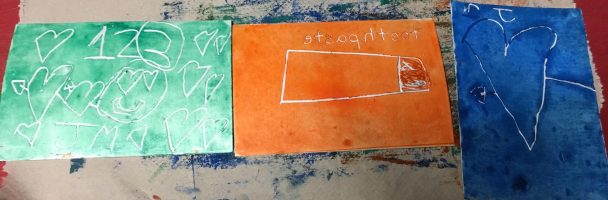
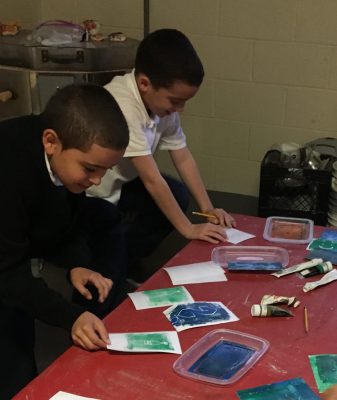
This week at Towey Recreation Center we did a printmaking project! We used pencils and paper to practice the design they wanted to print, and then either copied or traced the design onto a small piece of styrofoam. I did an example in front of the class to show them how it works! Because the students were printing a mirror image of the design they drew, we had to make sure they wrote all of their letters and numbers backwards! That part was a little tricky… it was good we had some paper to practice on! Here are some of the kids at work!
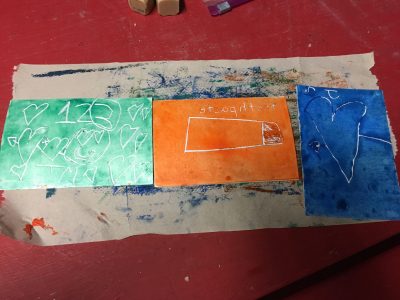
After the students were done transferring their designs onto the styrofoam, we squirted a little bit of printmaking ink into plastic lids so they could roll the ink onto the styrofoam with an ink roller.
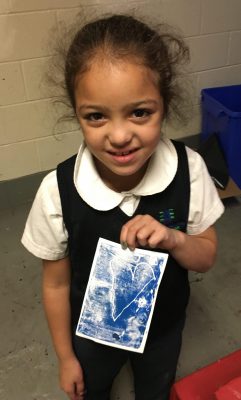
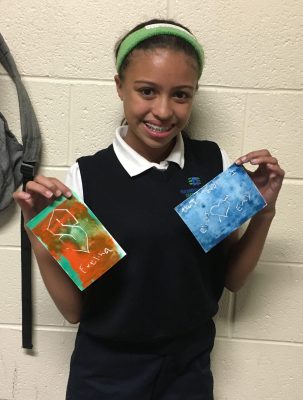
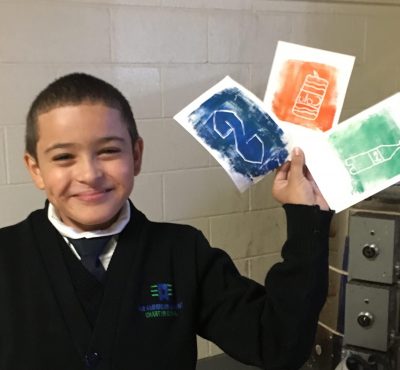
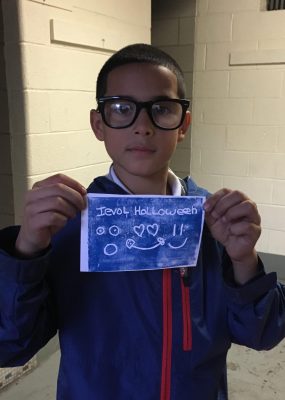
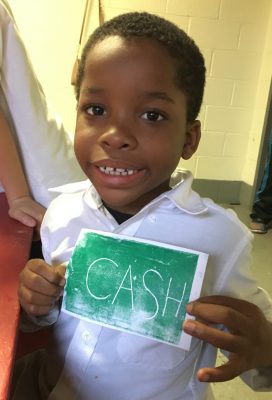
Then, the students laid a piece of paper facedown on top of the inked styrofoam and grubbed the back so the ink would be applied evenly. Then it was time to peel up their masterpieces! It was a really fun surprise to see what their designs would look like printed on paper! Here are the kids with their finished projects!!

Project Title: Printmaking
Description: Students will make a design on a foam, apply ink, and create a print, plastic lids to hold ink or paint
Author: Molly
Grade Level or Target Age Range: Elementary
Art Historical Examples or References: Examples of famous prints and printmakers, one example print done in front of the class
Vocabulary: Print, printmaking, transfer, reflection
Materials: Styrofoam squares, pencils, paper, printmaking ink or paint, rubber roller or brayer
Demo/Directions
- First, draw a sketch of the design on a piece of paper with pencil. Keep in mind that the letters and numbers will have to be written backwards, because the print will become the mirror image of the design.
- Next transfer your design onto the styrofoam square. Students can either copy or trace their design with a dull pencil point.
- Next, squirt some paint or ink onto a plastic lid. Roll the rubber brayer back and forth through the ink, making sure it is covered all the way around. Then, roll the ink onto the styrofoam square.
- Last, lay a piece of paper facedown on top of the styrofoam. Gently smooth your hand over the paper to make sure the ink application is even. Then peel up the piece of paper and lay it off to the side to dry!