Materials: String or yarn, colored construction paper, tape and glue, marker or pencil, hole-punch (optional)
Step 1: Look at the diagram of primary, secondary and covert feathers and learn the different uses for each type of feather and the essential organization of plumage. https://www.fws.gov/lab/featheratlas/glossary.php
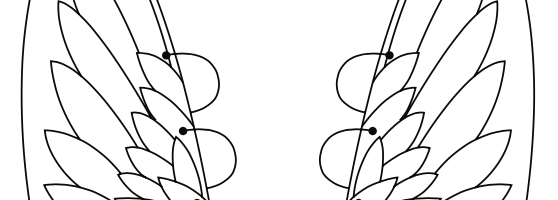
Step 2: Make a tracing template for the feathers from wing references in order to draw distinct shapes onto construction paper.
Step 3: With a marker, draw basic wing shapes and trace feather shapes.
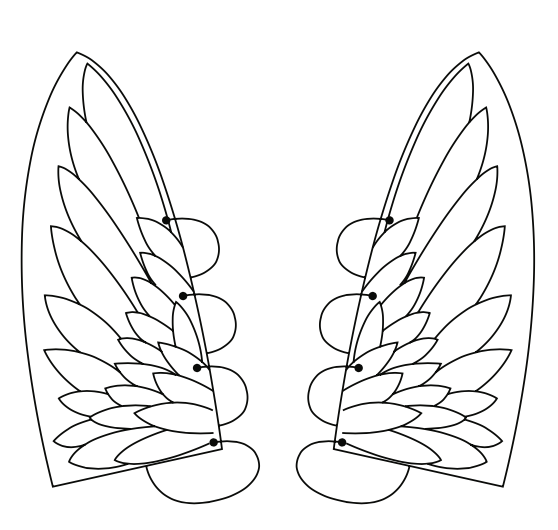
Step 4: Draw a line down the middle of each feather. Then draw little lines from the quill to the end of the feather starting from that center line and out to edges of paper. Angle these lines away from quill and add color details.
Step 5: Cut out feathers and glue them onto basic paper wing shapes in the general areas of primary, secondary and covert feathers. Repeat for second wing.
Step 6: Punch holes along upper edge of feathered wings and add string to tie the wings to your arms.