Project Title: Let it Snow!
Description: Focusing in the cold weather and the different ways to look at snowflakes. Both projects give students a different perspective on snowflakes. One focuses on the negative spaces, positive spaces and the overall shape. While the other focuses on the details of the snowflake and the overall mass of the shape.
Author: Candice, https://www.craftymorning.com/
Grade Level or Target Age Range : preschool
Vocabulary: negative space, positive space, shape, size, detail, mass
Materials: paper cut into circles, regular/uncut paper, Q-tips, scissors, crayons, glue
Demo/ Directions:
First Project
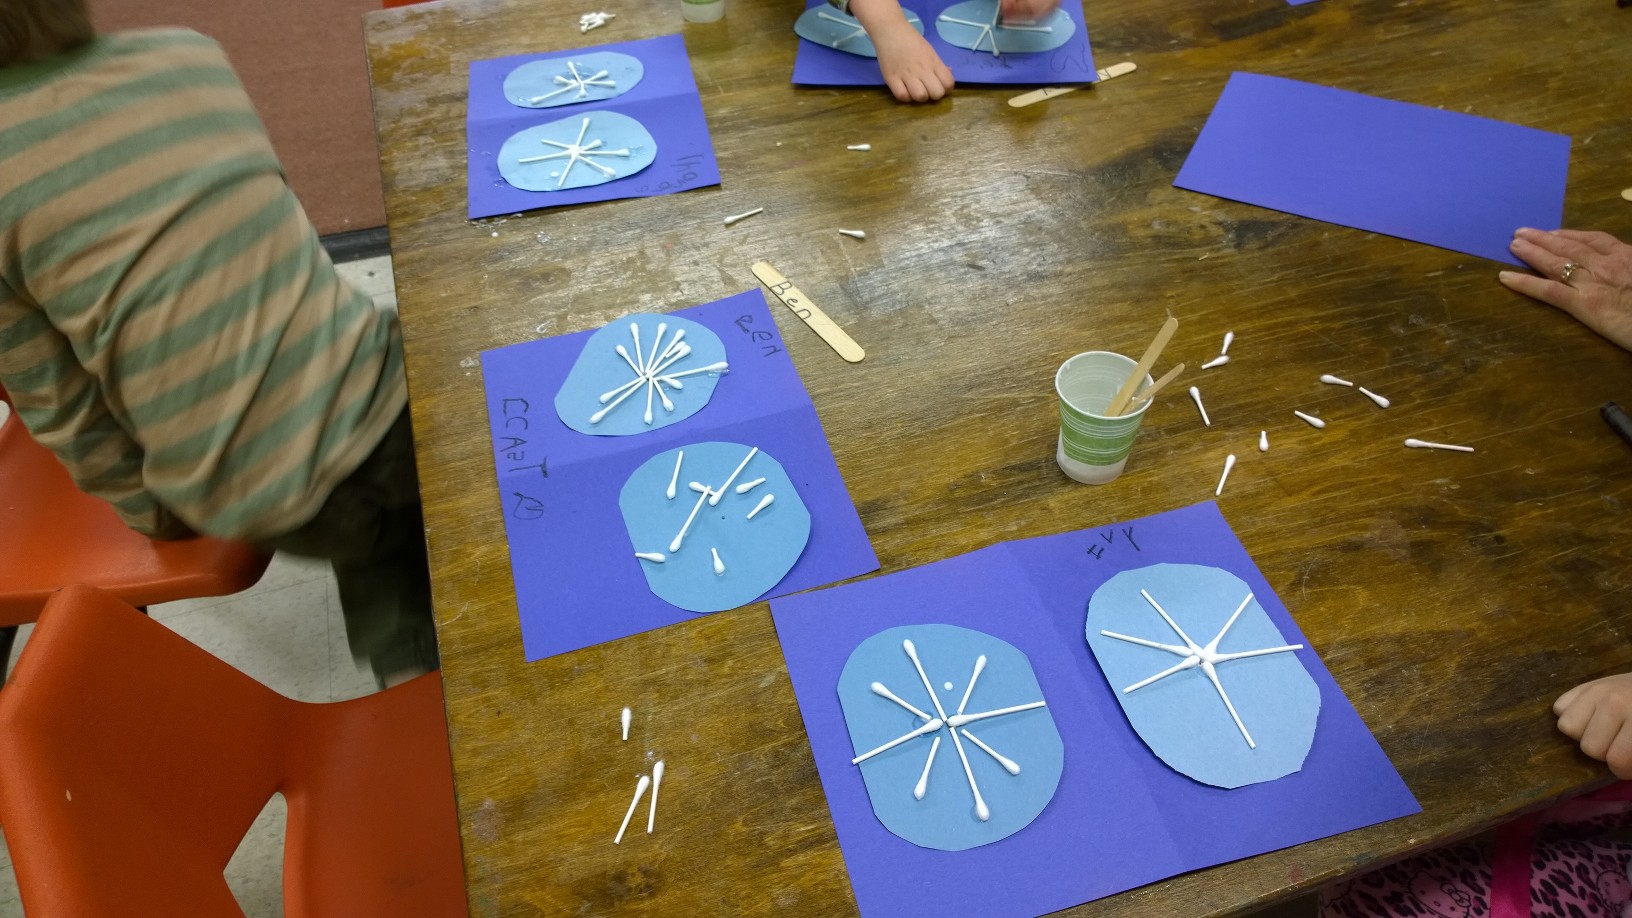
- Pass out a piece of paper and have students fold in half hamburger (long) ways, and then unfold it so you create a crease. (1 minute)
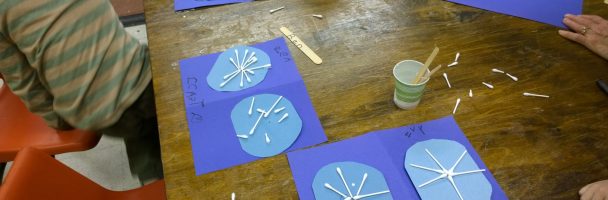
- Then pass out two paper circles to each student and have them glue it to the paper. ( 5 minutes)
- Pass out the Q-tips and have students break them into different sizes. (5 minutes)
- Once students are done breaking their Q-tips, they can begin gluing them onto the circles. (5- 10 minutes)
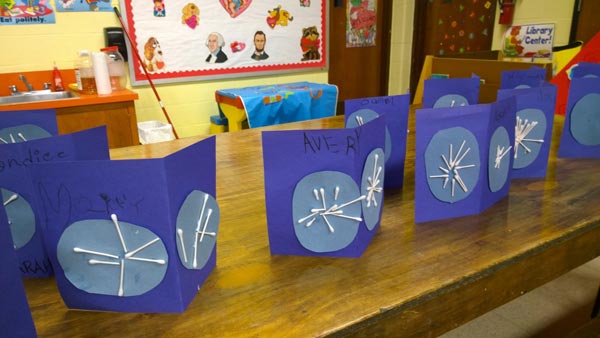
- Lastly, have students write their name at the top of the page in big letters and the word snowflakes at the bottom (ex. Candice’s Snowflakes). (5 minutes)
– Put this project aside to dry. When it is dry, students can stand their paper up.
Second Project
- Pass out another piece of paper. ( 1 minute)
- Have students fold their paper up into fours (2 minutes)
- Then have them cut off all four corners of their square. ( 5 minutes)
- Then have them cut small triangles on the center left and center right (paper is held like a book, long ways). ( 5 minutes)
- Next students cut another triangle in the center top or bottom. There should be 3 small triangles in the center of three out of four sides. ( 5 minutes)
- Students can now open their papers, and discuss the differences between the two projects (5 – 10 minutes)
– This is a great exercise for kids to practice using scissors. Each step should be repeated and demonstrated.