Preschool summer session is back and running at Shissler Recreation center with ArtSphere Inc. We are kicking off this season with projects revolving around themes of music, printmaking, and art history. Our tots are especially enthusiastic this time, with 37 pairs of fresh eyes, interested in working with their hands while also fulfilling some outdoor time in the sprinklers and on the playground.
June 14th was our first day with the new students, and since my assignment for our spring session was focused at Fishtown Rec. and Samuels Rec in Port Richmond, I thought we could use a few tools in getting to know each other and reinforcing our knowledge of the alphabet. These students have worked so hard with Miss Deven in the last year, it was time to put it all to use once again.
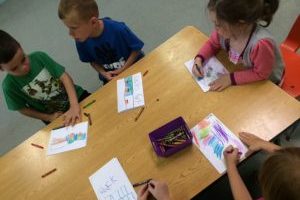
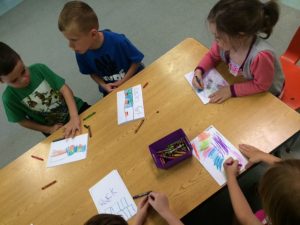
Journal Making
Sarah and myself instructed the students in making a small journal for the use of the next ten weeks. I prompted our students to begin creating based on what they were most excited for in their camp time. It was only their second day at Shissler, and there were a bit of mixed emotions about being together, but everyone warmed up once we gave them the freedom to color and draw.
- Materials: paper, hole puncher, string
- Prep: precut and hole punch paper, cut string to the appropriate sizes.
- Demonstrate: how to use yarn to tie paper together
Using 8.5×11, or standard letter size paper, fold 5 pieces to create a folio. Punch three holes through the folds to sew pieces together. Alternatively, a stapler can be used to hold all pieces together. Encourage students to create a journal cover or to decorate their names on the front to give a sense of self expression. These books are a great tool to introduce sequencing into lessons and to integrate into story telling themes.
Once our students had their fill of imaginary color time, we progressed onto our creative initial lesson. The journals were a terrific warm up for our group, and the students had a better understanding of what could be expected of them for the next few weeks with us. 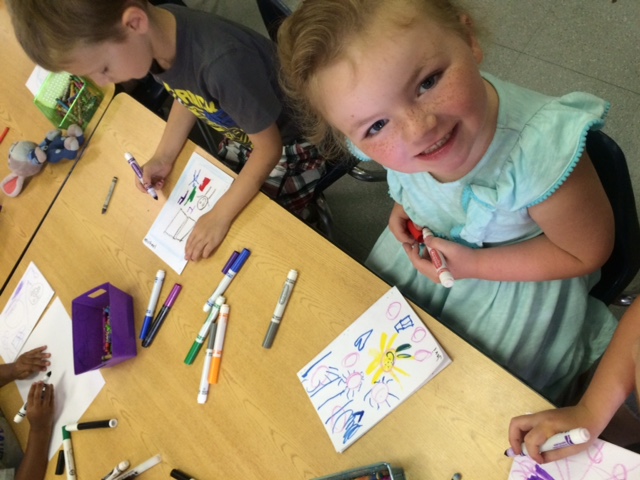
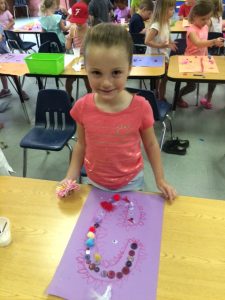
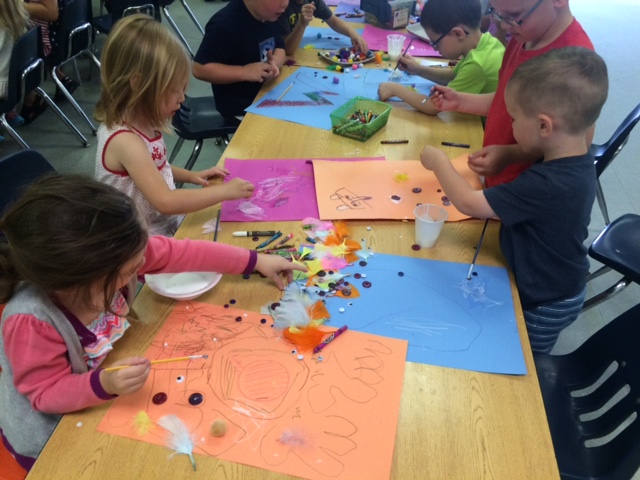
Creative Initials
- Materials: Construction paper, crayons, googly eyes, feathers, buttons, glue
- Discussion: letters and the sounds that they make. Draw letters and add additional details with yarn, buttons, and pompoms. How does your letter reflect you?
- Prep: Gather craft materials, glue, and illuminated manuscripts for inspirationAs an example, I made a drawing of an illuminated manuscript. Using my love of nature, trees, and plant materials, I added a lot of leaves and flowers to the outside of my initial and decorated the inside of the “N” with a pattern of my choosing. We encouraged our students to have a solid outline of their initial and then they could continue to decorate in the way that best expressed themselves.
 Students had the most fun using the three dimensional materials (feathers, googly eyes, buttons, and pom poms) to fill in their images or make an additional representation for their personalities.