Project Title: Intro to Printmaking
Description: Students will learn how to create a mono-print.
Author: Dayna Ensminger
Grade level or Target Age Range: Elementary Level, ages 7+
Historical Art Examples or References: Andy Warhol Pop Art, examples of prints and stamps
Vocabulary: Printmaking, inks, brayer, stamp, texture, pressure, print, reverse image
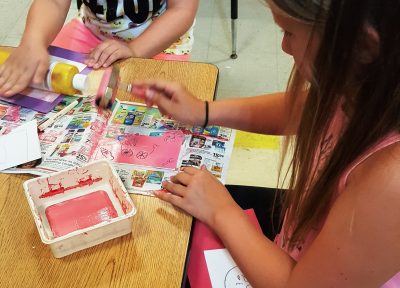
Materials: colored construction paper cut in half, printmaking inks, brayers, inking plate, pens or dull pencils, newspaper, Styrofoam sheets, scrap paper, tape
Demo/Directions:
1. Learn about printmaking. Discuss artist Andy Warhol and his artistic approaches and techniques. Compare and contrast differences in Warhol’s art – i.e. colors can change, ink is lighter or darker, background color changes, foreground color changes, some are upside-down.
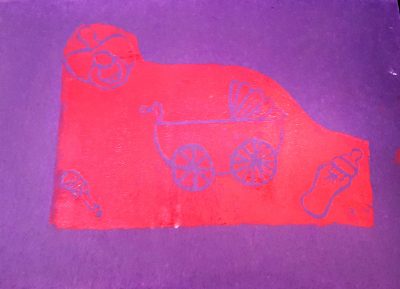
2. Teacher demo to show students how to write and draw onto their Styrofoam pieces. It will be stressed that whatever is drawn onto the Styrofoam will show as the reverse image when printed, students will be reminded to think of a stamp.
3. Anything that is drawn onto the Styrofoam will not be able to be erased. Those who want to sketch out their idea first can do so by drawing onto a separate piece of paper in the same size as the Styrofoam. You can then tape this sketch to the Styrofoam and trace over it.
4. Drawings should be drawn onto Styrofoam with a pen or dull pencil. Press firmly, but be careful not to break through the back of the Styrofoam. *Remember: words and numbers need to be reversed and flipped!*
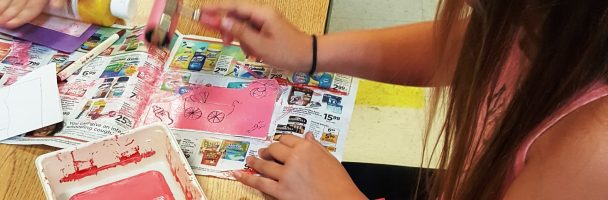
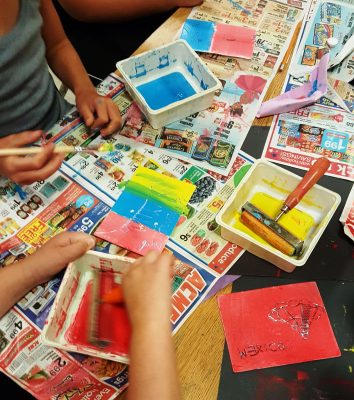
5. Teacher will set up inks in trays and explain the process. Students will roll the brayer, which looks like a rolling pin but with a rubber roller, into the ink. They should roll all directions to thoroughly cover the brayer evenly. It should be a sticking sound when correctly covered.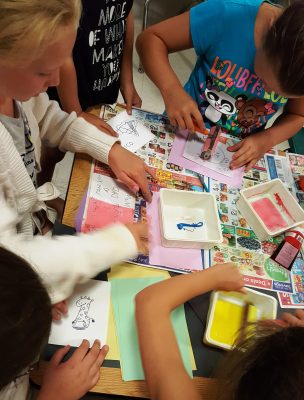
6. Roll brayer directly onto Styrofoam. Try not to fill in the indentations where you’ve drawn.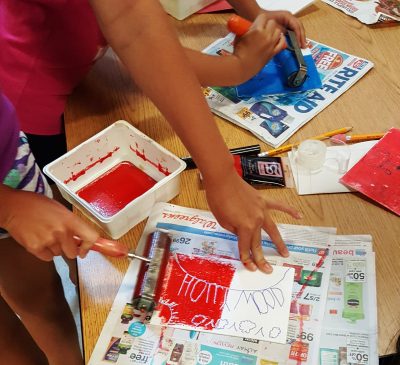
7. Flip Styrofoam onto construction paper color of their choice. Apply even pressure to the back of the Styrofoam. If available, use a baren, rolling pin, or bottle of paint to apply even pressure. Alternatively, the paper can be laid on top of the inked Styrofoam.
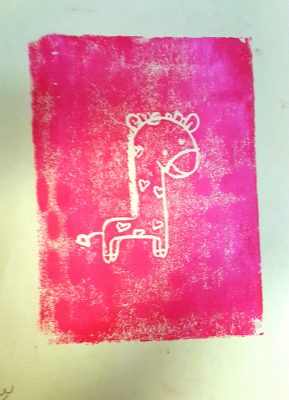
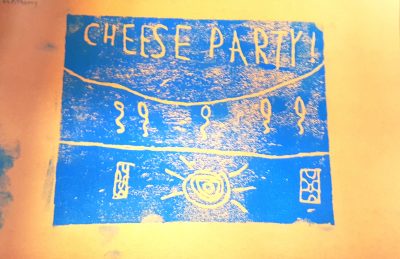
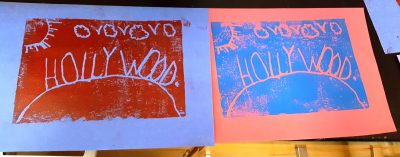
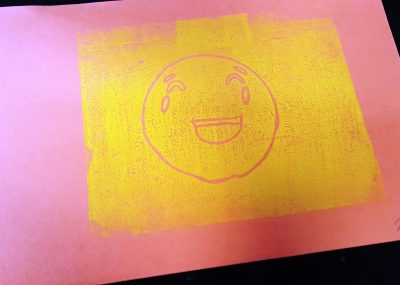
8. Peel to reveal your image!
9. Try the same ink again and a different color paper for a new effect. Or, clean and dry the Styrofoam and try a new color ink! The possibilities are endless with printmaking.