Bigs – Glavin Rec Center
Next, I taught the children how to start a friendship bracelet using a cardboard circle loom. First, each child chose 7 strands of yarn. Then I helped bunch the yarn together at one end and tie them together with one loop. I passed out pre-cut cardboard circles with a hole in the center already punched out. The children drew 4 “long” lines through the circle to create 8 even slices. For example, draw one line up and down to split the circle in half, draw a second line left to right – it should look like a plus sign (+) or a cross. Next, draw two diagonal lines, like an X to divide the four quadrants in half. Then they used scissors to SNIP each line (8 snips). They had to be careful not to cut to the hole in the middle. Next, everyone had to push the knot of their 7 yarn strands through the center hole and lay each yarn into each notch, with one notch open.
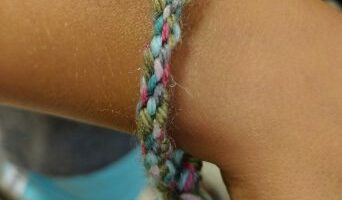
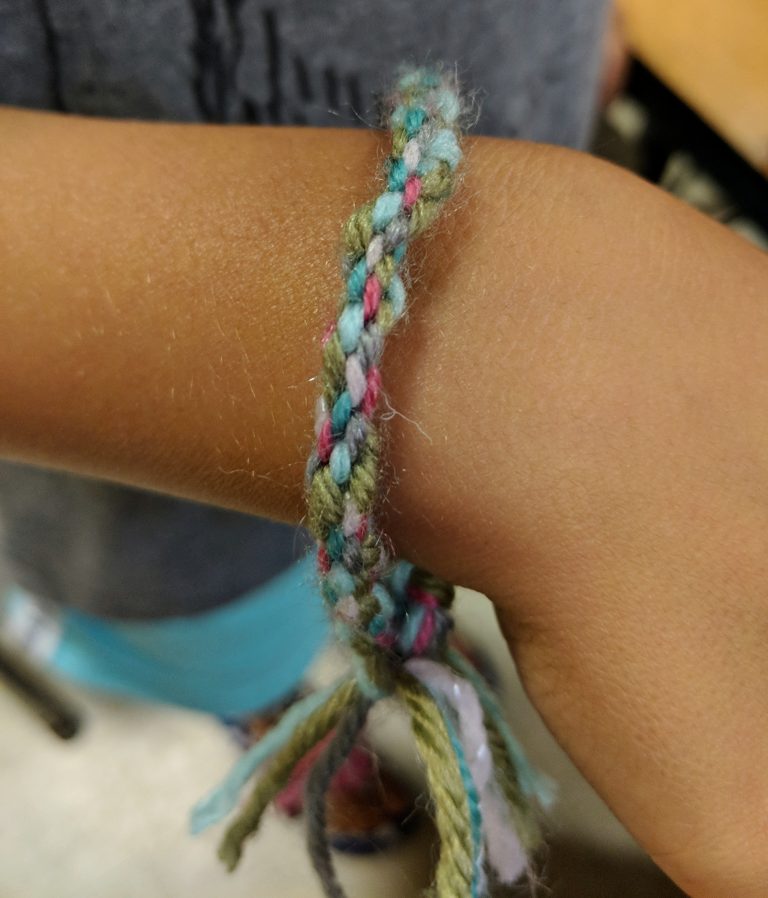
The pattern for the weaving is “1, 2, 3” or “drop, drop, stop” — The kids had to remember if they were going to the left or right of the open notch. They would count “drop, drop, stop” pick up the third yarn they stopped at and lifted it up and over into the empty notch. They would do this over and over again. Every so often, they would be reminded to “brush” the ‘yarn hair’ that was dangling so it wouldn’t tangle. They would also have to gently pull the knot so they could begin to see their progress. After several very focused minutes of work, the students could see their bracelet weaving form.