Your destination: (objectives)
- The students will be able
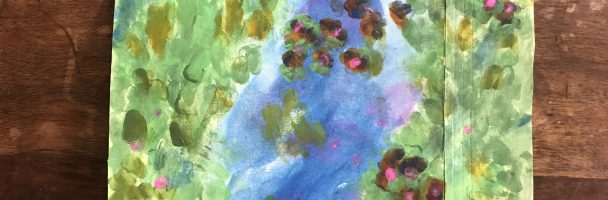
to practice impressionist style techniques by recreating Monet’s “The
Water-Lily Pond”.
Travel kit: (materials)
- Acrylic paint, paint brush,
something to paint on! (canvas, wood, thick paper, title, panel).
On the path
Step 1
- Start by creating your
pallet! Find something you can mix your paint on. This could be can piece of
wood or plastic, just something that you won’t need to reuse later. First mix
the pinks by using red and white paint. Next make a light green by mixing green
and white paint. You will also need to squeeze out yellow, green, red, and blue
individually without mixing them with anything.
Step 2
- First start in the middle
and paint the water. We are going to be using the blue and pink paint for this.
Use one of your fingers and make little overlapping prints. Start with the
blue, and then layer pink on top.
Step 3
- Next, move on to the sides
were there is foliage. You are going to first make your lily pads. Start with
yellow and make that your base layer. Next go in with pinks, blues, or reds and
create thin layers on top.
Step 4
- Create the foliage around
the sides. You can start with your light green and then add some light dark
green to add some definition.
Group tour (how larger class can be involved as group projects)
Extend your journey
- After the students get a
feel for what it is like to practice impressionist techniques from their finger
painting, they can start applying these new skills to paintbrushes and pallet knives.
Learn new vocabulary
- Impressionism, pointillism
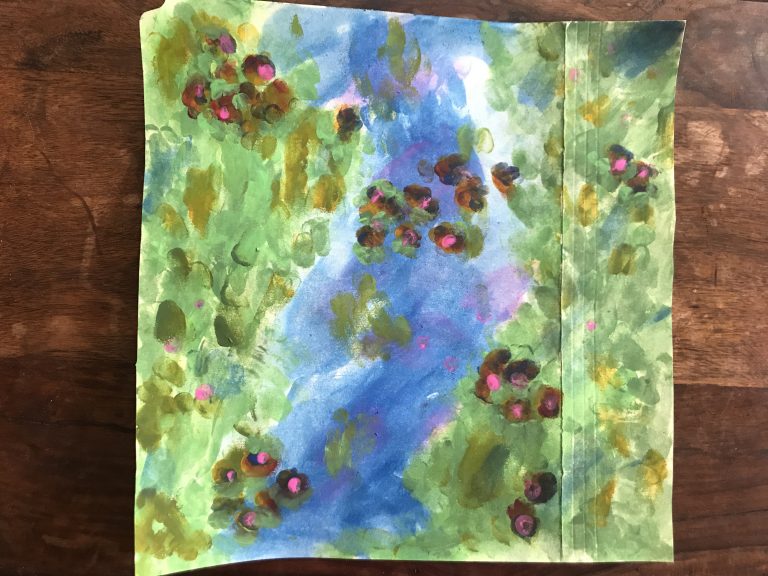
Image and artwork by Greta Heeb, for Art Sphere Inc.