
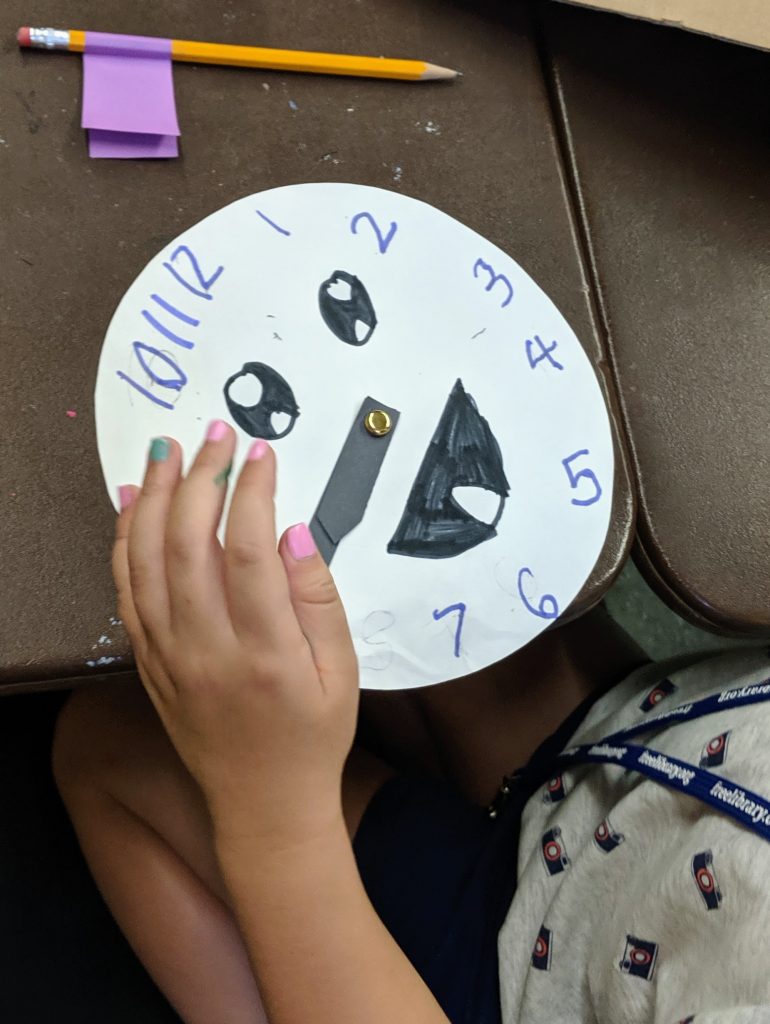
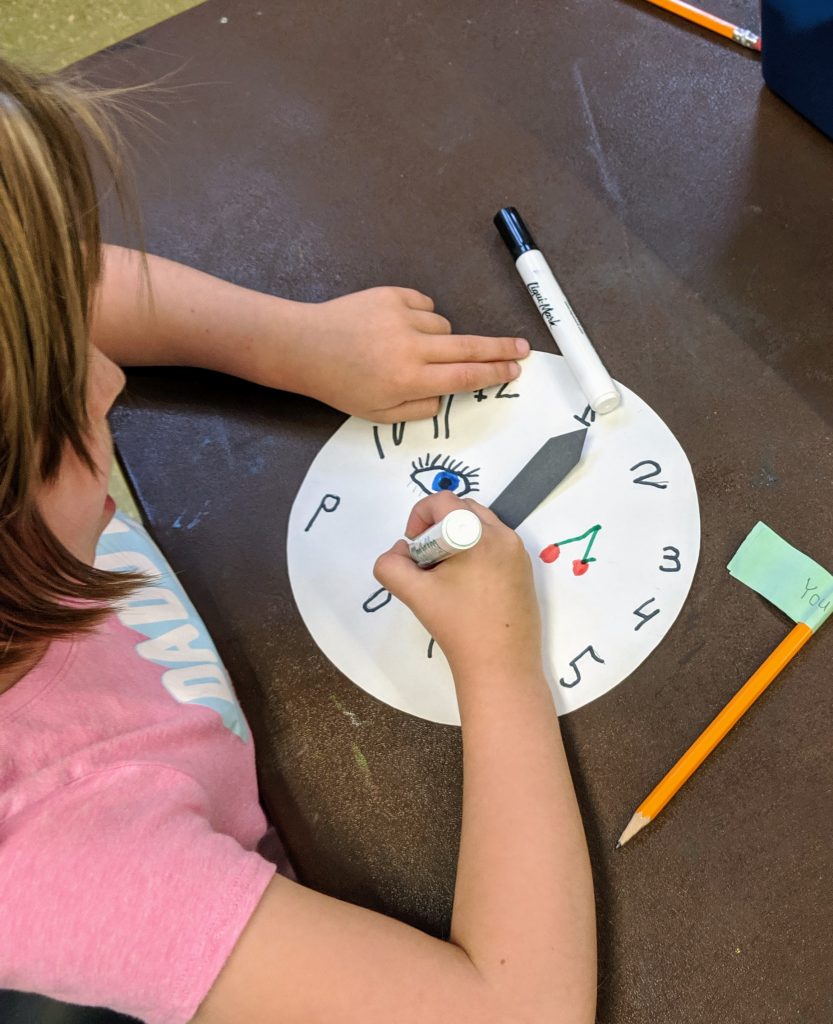
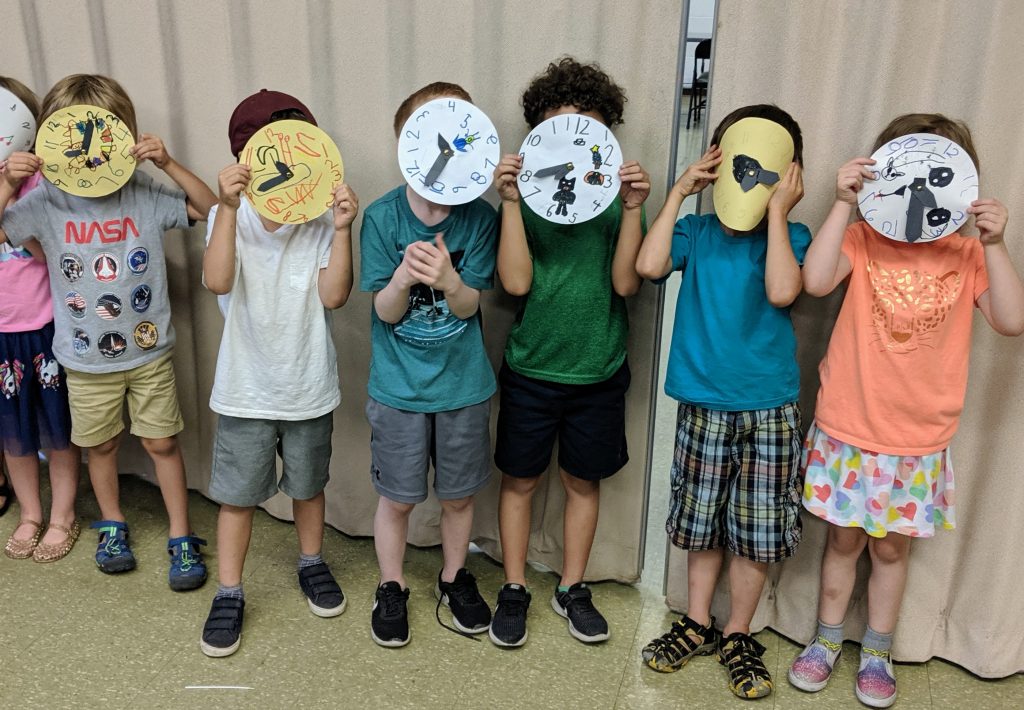
1st graders (entering 2nd in the Fall), reviewed an analog clock for their art lesson. They began with a blank circle with two hands on the clock, attached with a brass fastener. I asked them what number goes at the top .. 12. So everyone wrote “12” at the top. Then we needed to space everything out carefully, so I had the students place the “6” at the very bottom. Next, we split the difference between the 12 and the 6 and wrote the number “3” on the right, and we split the difference between the 12 and the 6 and wrote the number “9” on the left. After this, they filled in the rest of the numbers.
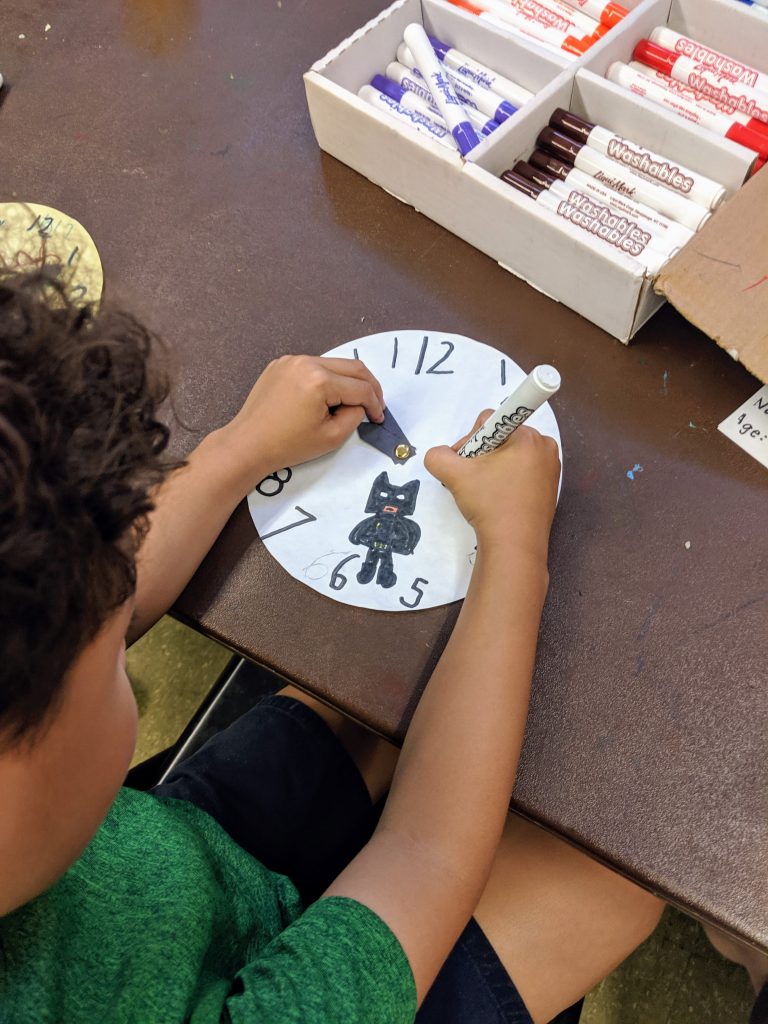
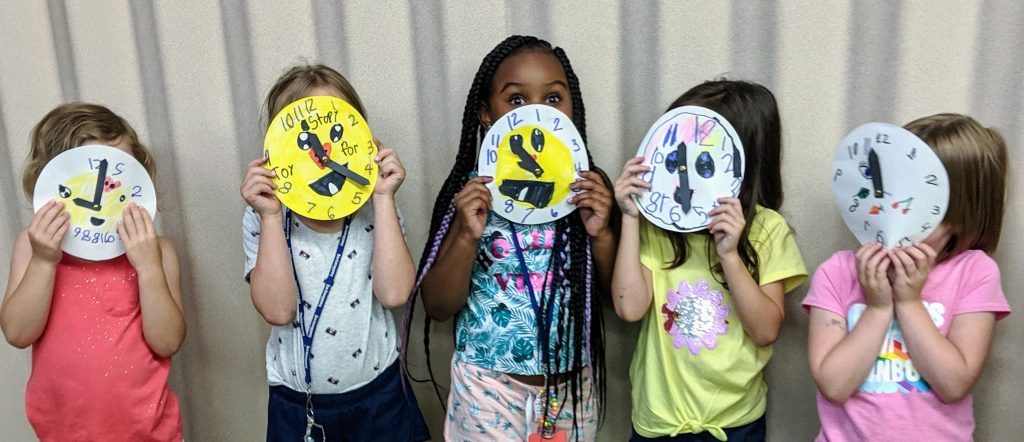
Next, they were able to just decorate their clock face however they wished. We practiced telling time and reviewed the hands of the clock.
Project Title: Clock Faces
Description: Students will review an analog clock, create their own with the numbers in the correct placement, design the ‘face’ of the clock, be able to change the hands on the clock to tell time.
Author: Dayna Ensminger
Grade level or Target Age Range: 1st Grade, 2nd Grade
Historical Art Examples or References: Images of analog clocks, view the surreal art of Salvator Dali “Persistence of Memory”
Vocabulary: Analog clock, clock face, design, color, draw, surreal, real
Materials: Pre-made clock faces with hands, crayons, pencils, markers, examples of analog clocks
Demo/Directions:
1. Review time and analog clocks. Review the hands of the clock (big hand=minutes, little hand=hour)
2. Ask students to move the hands of the clock to different times and identify the time they chose.
3. Teacher explains how to divide the clock into 1/4ths. Students should write a 12 at the top, 6 at the bottom, 3 on the right, 9 on the left. Next they should fill in the rest of the numbers in between.
4. Design clock face!
5. Practice telling time with your own personalized clock.