Project Title: Clay Turtles
Description: Using clay (both clay made for or not made for a kiln will work) students will create their own turtles.
Author: Molly
Grade Level or Target Age Range: Preschool to early elementary
Historical Art Examples or References: Examples of clay animals or turtles through history.
Vocabulary: Clay, wedge, pinch pot, slip
Materials: clay, tools (wooden dowel/plastic knife), slip, pattern, texture
Anticipatory set: Discuss the role turtles play in our environment, read a story about turtles
Demo/Directions:
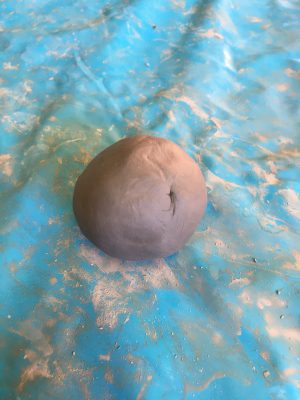
1. Knead (wedge) the clay to remove air bubbles if using clay that will be fired in a kiln. Form the clay into a ball.
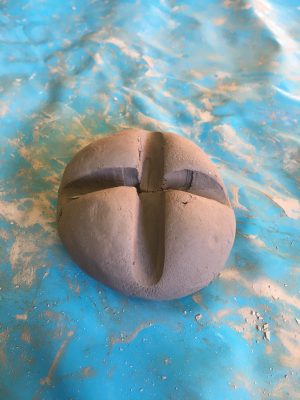
2. Using a tool, such as a wooden dowel or a plastic knife, press a deep plus sign into the ball of clay.
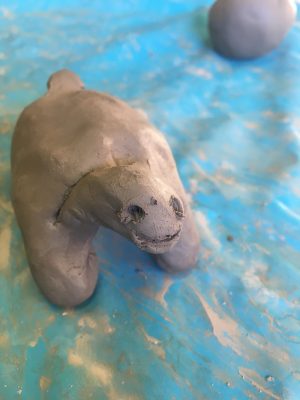
3. Pinch and pull each of the four sections to create the turtle’s legs.

4. Flip the turtle over and pinch and pull a section to create the turtle’s head. Then, press up in the underbelly of the turtle to form the roundness of the turtle’s shell.
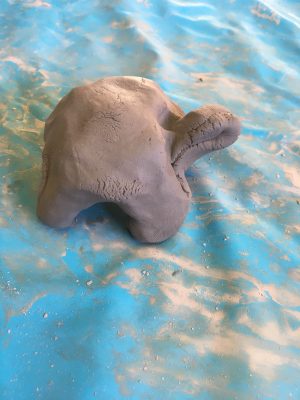
5. On the opposite side of the turtle’s body than its head, pinch and pull a small piece to create the turtle’s tail.

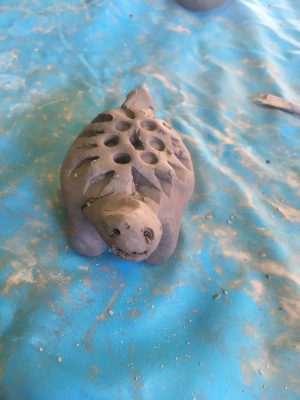
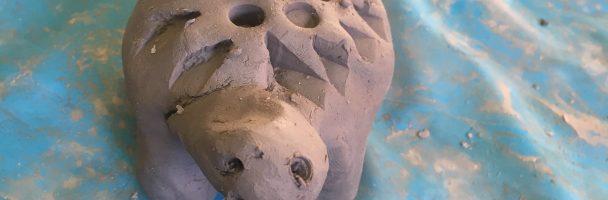
6. After smoothing out all of the cracks with slip (a mixture of clay and water), use a tool to carve in the face of the turtle.
7. Finally, use different tools or textures to create a pattern on the turtle’s shell.