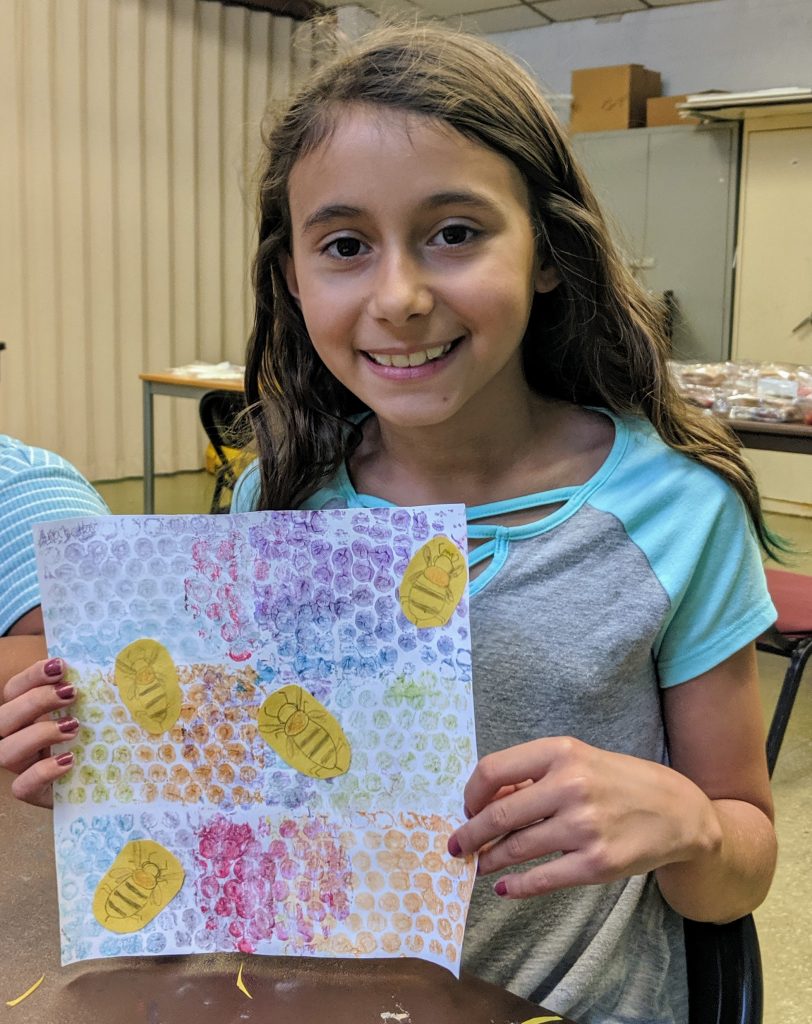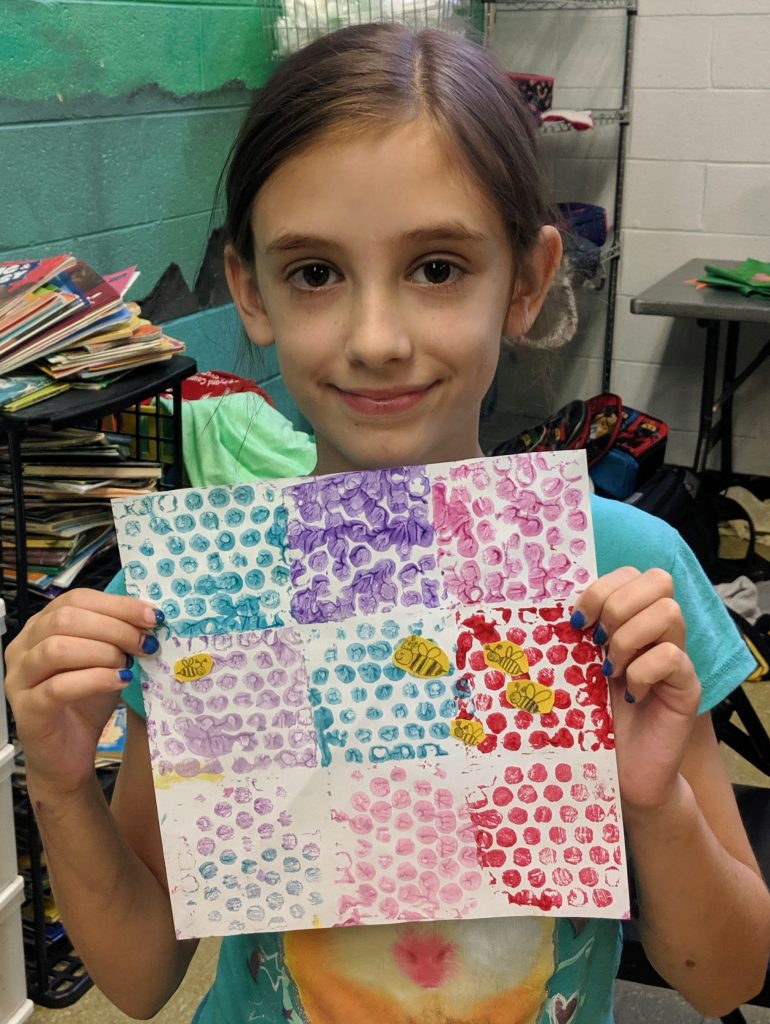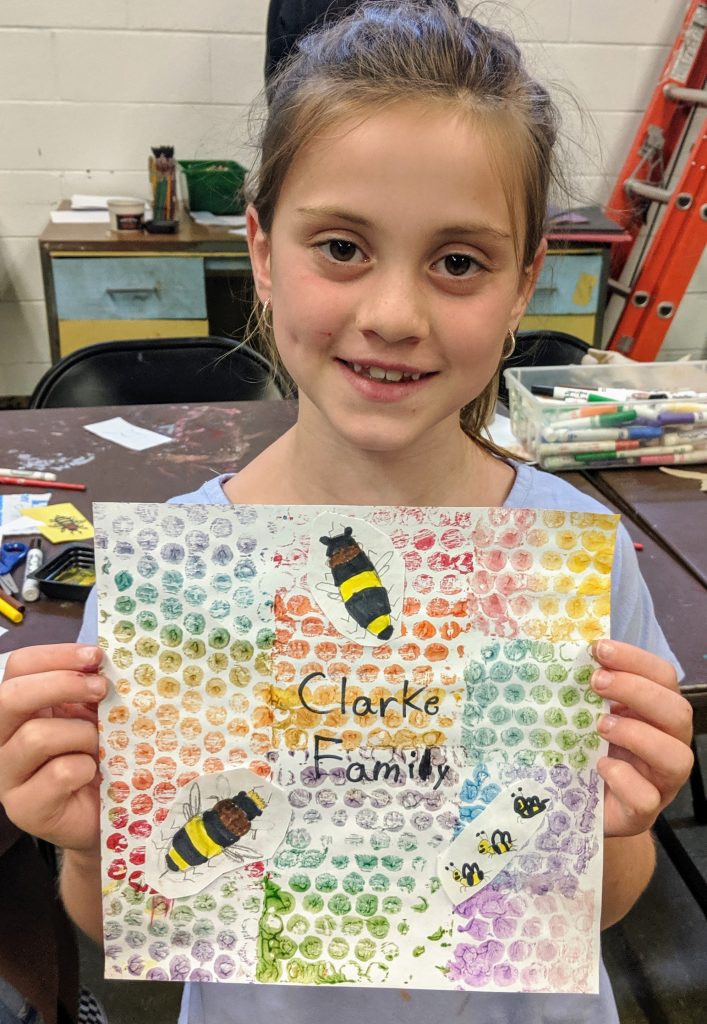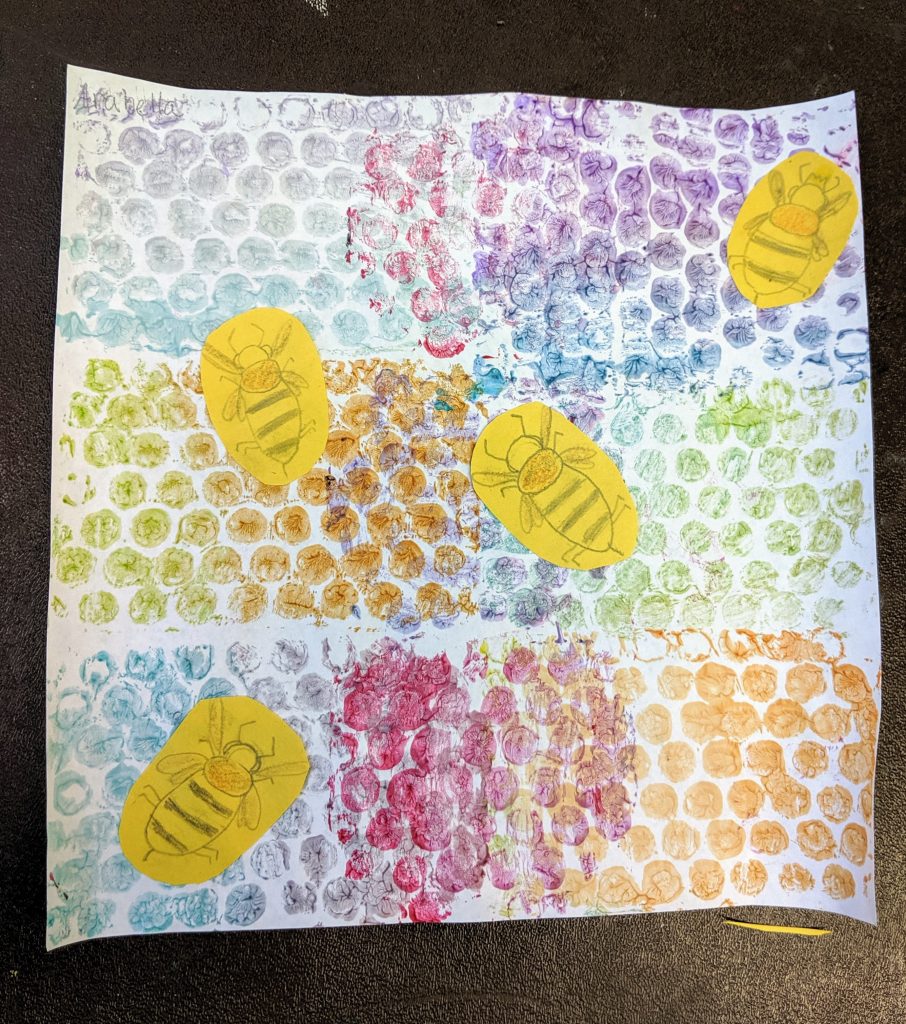
Week 3, the older students at Fishtown Recreation Center, learned about printmaking and how to reuse bubble wrap to create art!
We discussed printmaking and after learning it was like a handprint or stamp, they recalled it from their art classes in school. I asked if they’d ever used bubble wrap to create a print before and no one had.
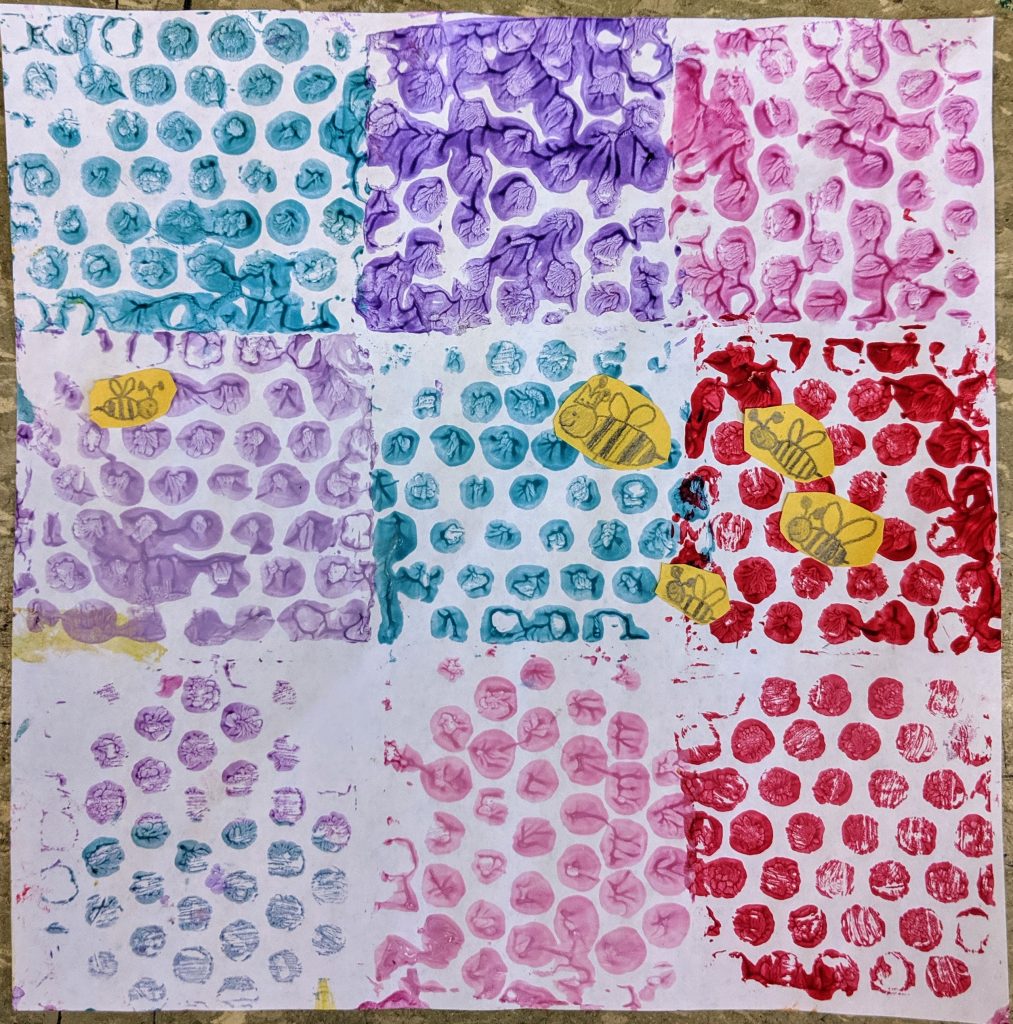
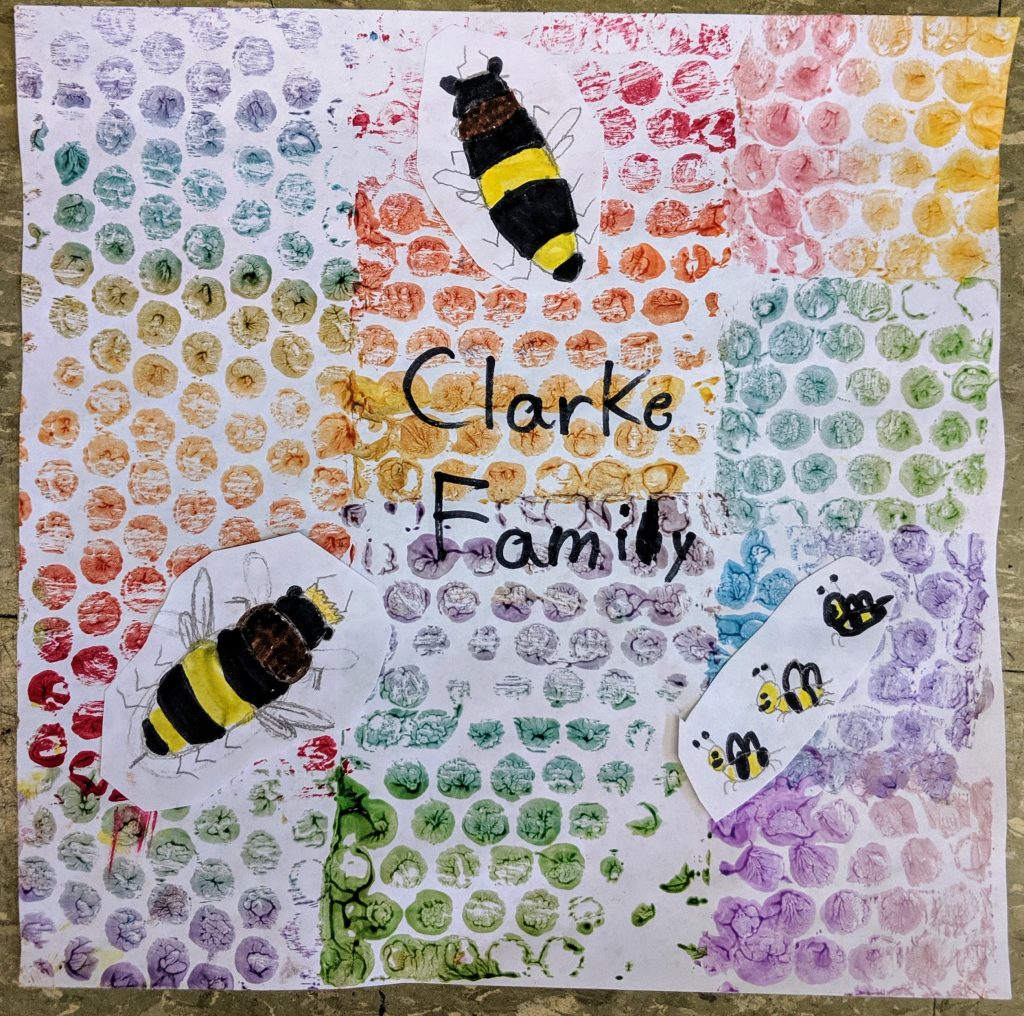
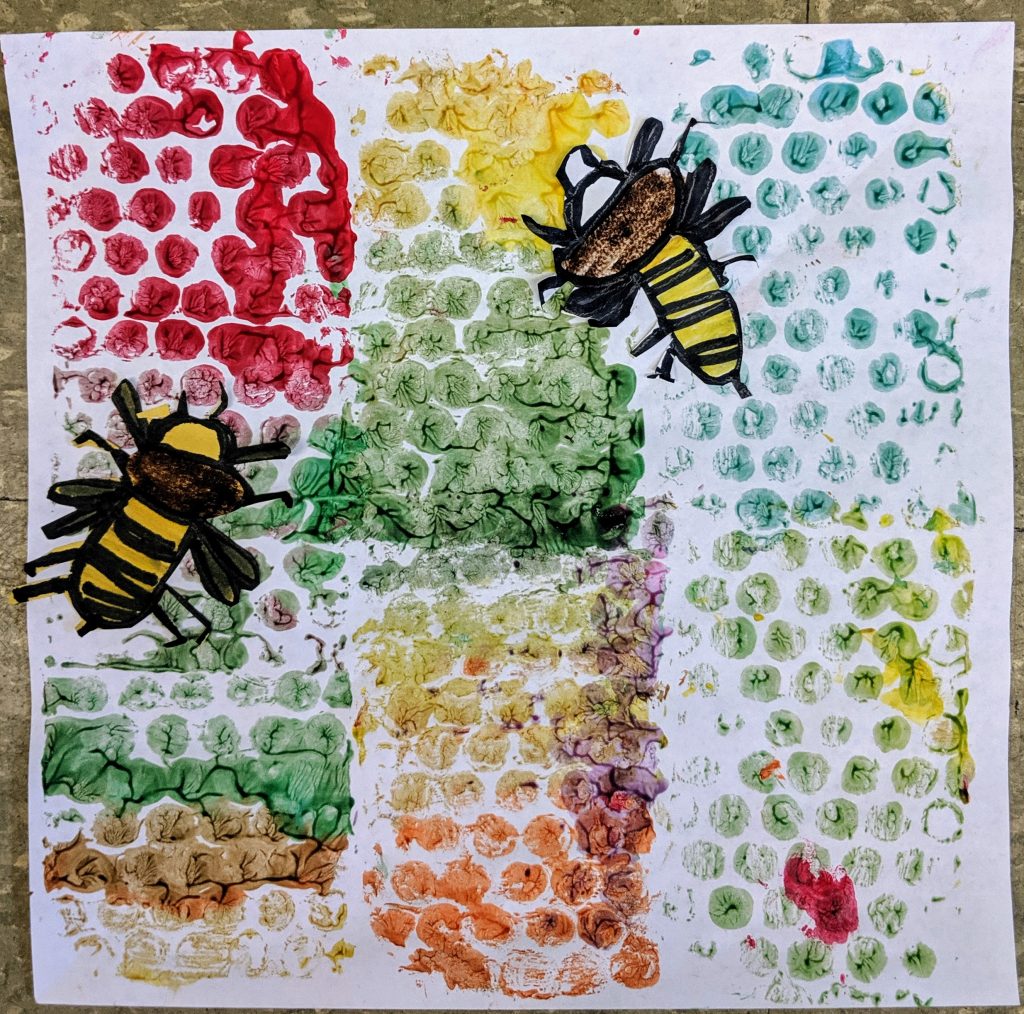
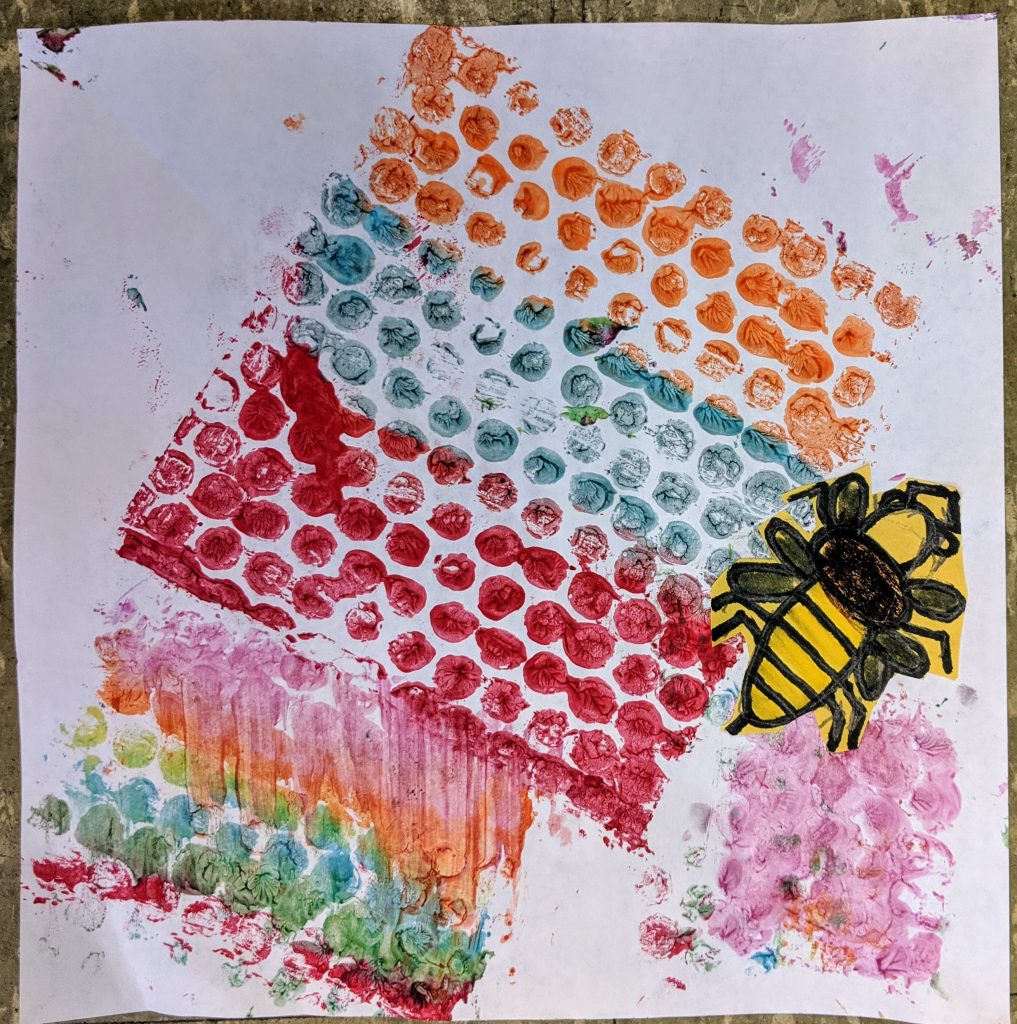
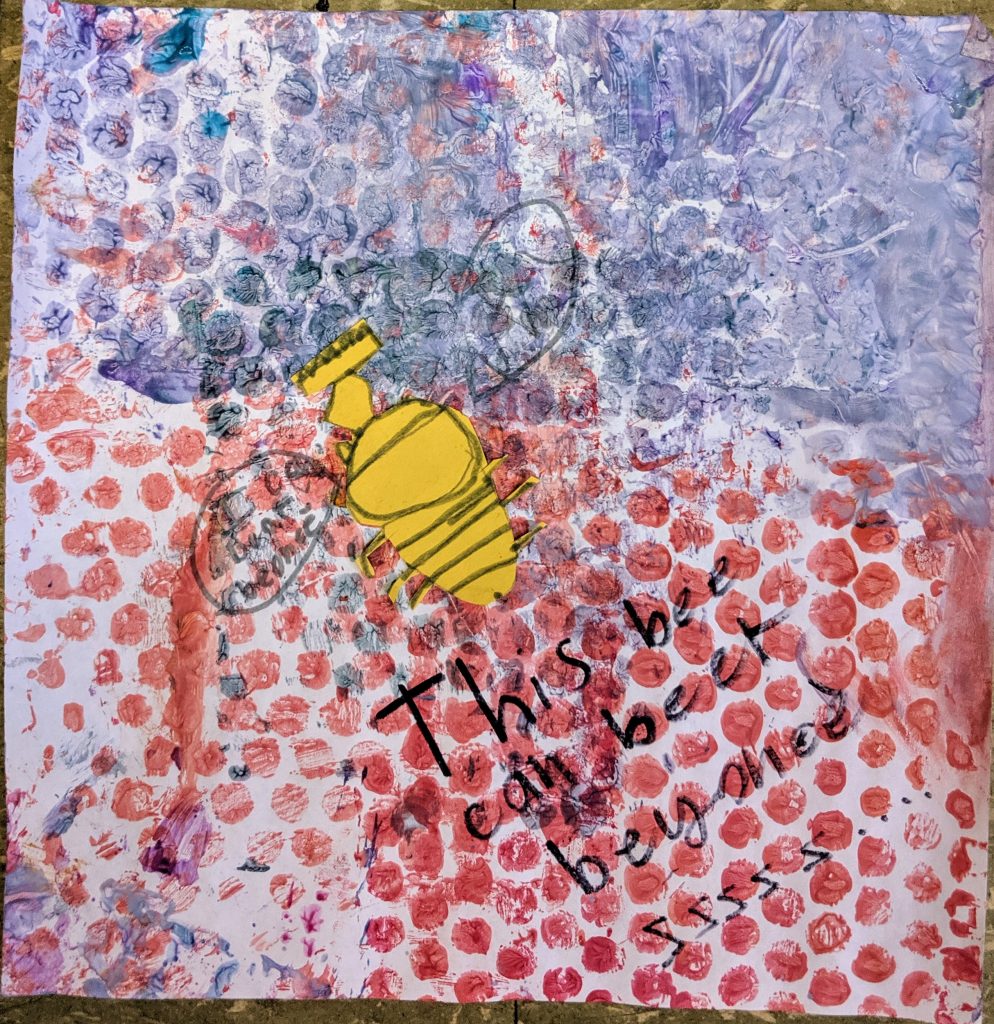
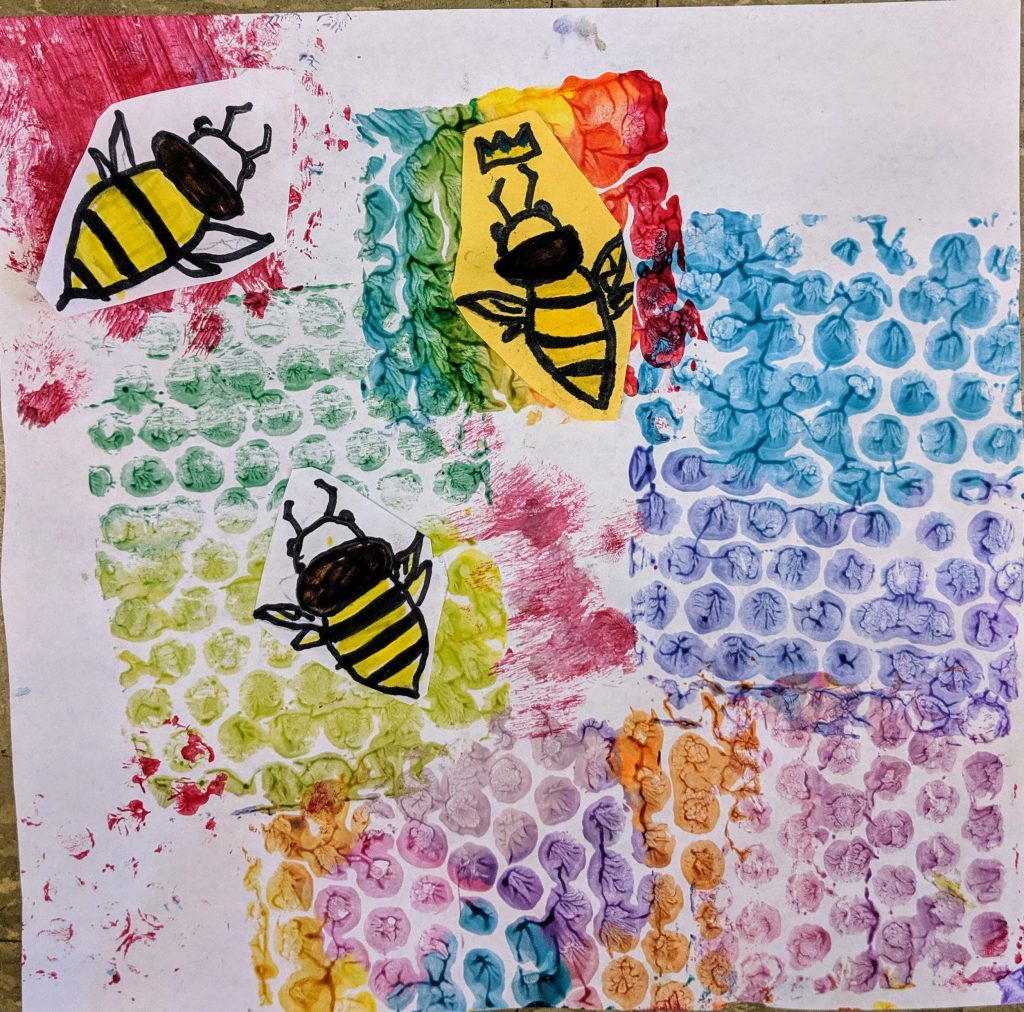
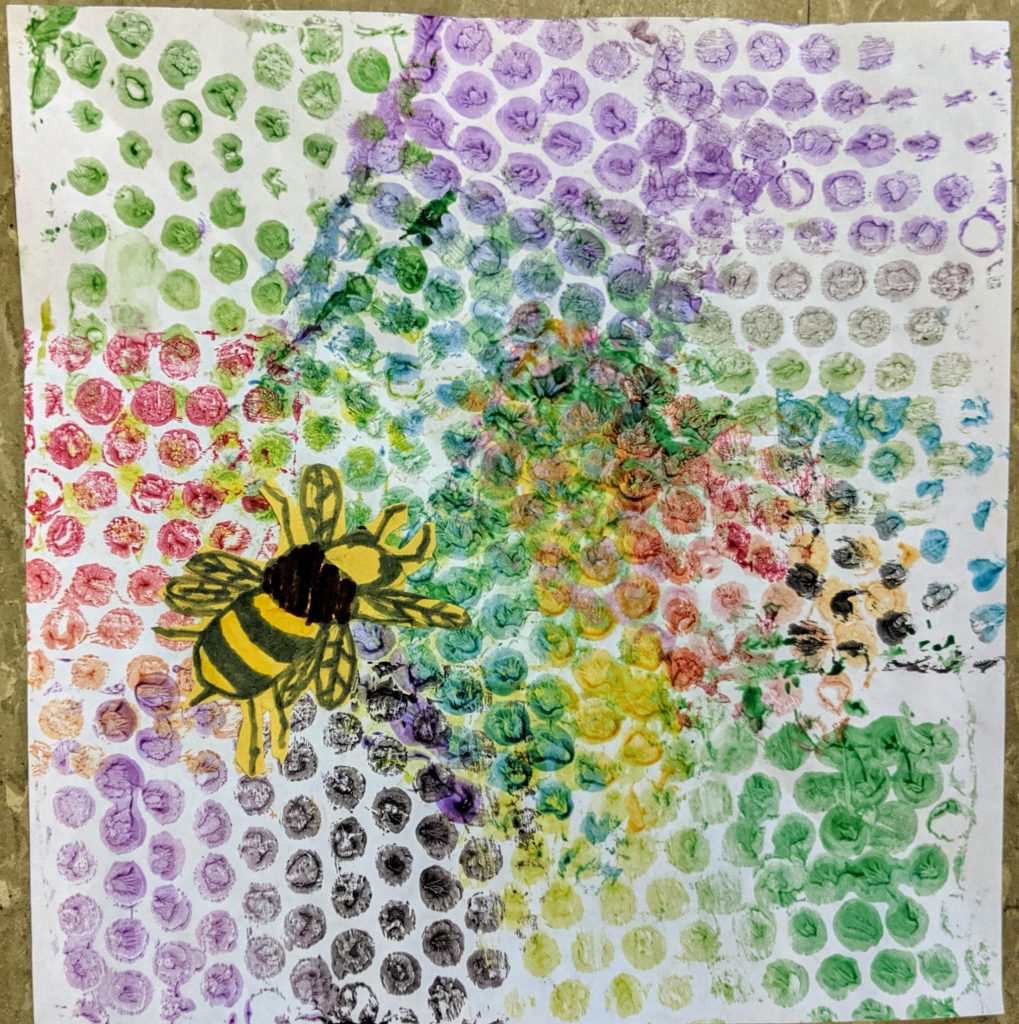
I demonstrated how to paint on the bubble side – the textured side- of the bubble wrap. I showed them how to blend two colors for a gradient effect. Then, I flipped it over, pressed gently onto the back of the bubble wrap, then lifted to reveal a dot – or honeycomb – pattern. I explained that we would be printing a background for a bumblebee collage.
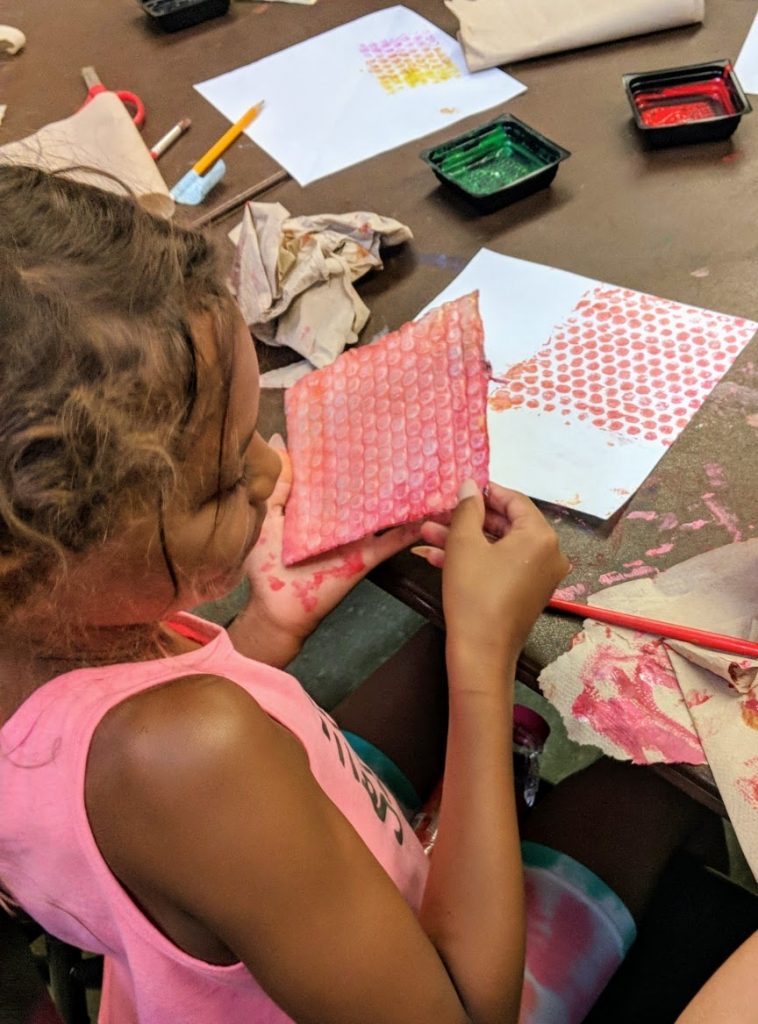
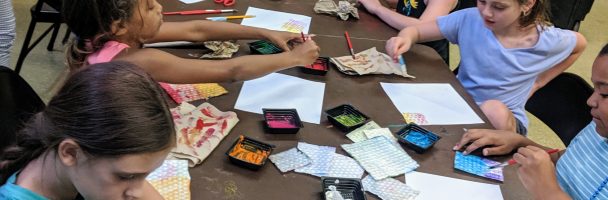
Everyone had messy fun painting and printing onto their papers. Some students took a very neat and precise approach, while others let abstract expressionism take over. Everyone was careful using the materials and shared nicely with one another, passing around colors when another friend asked.
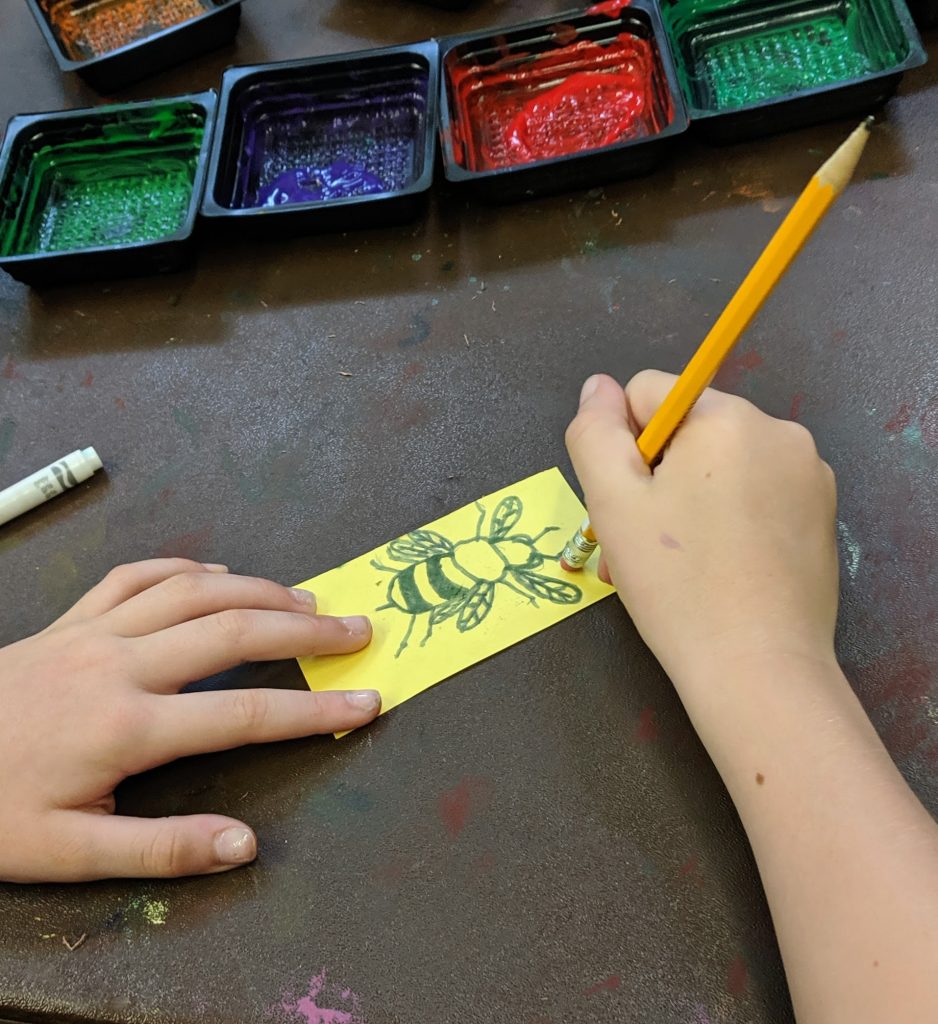
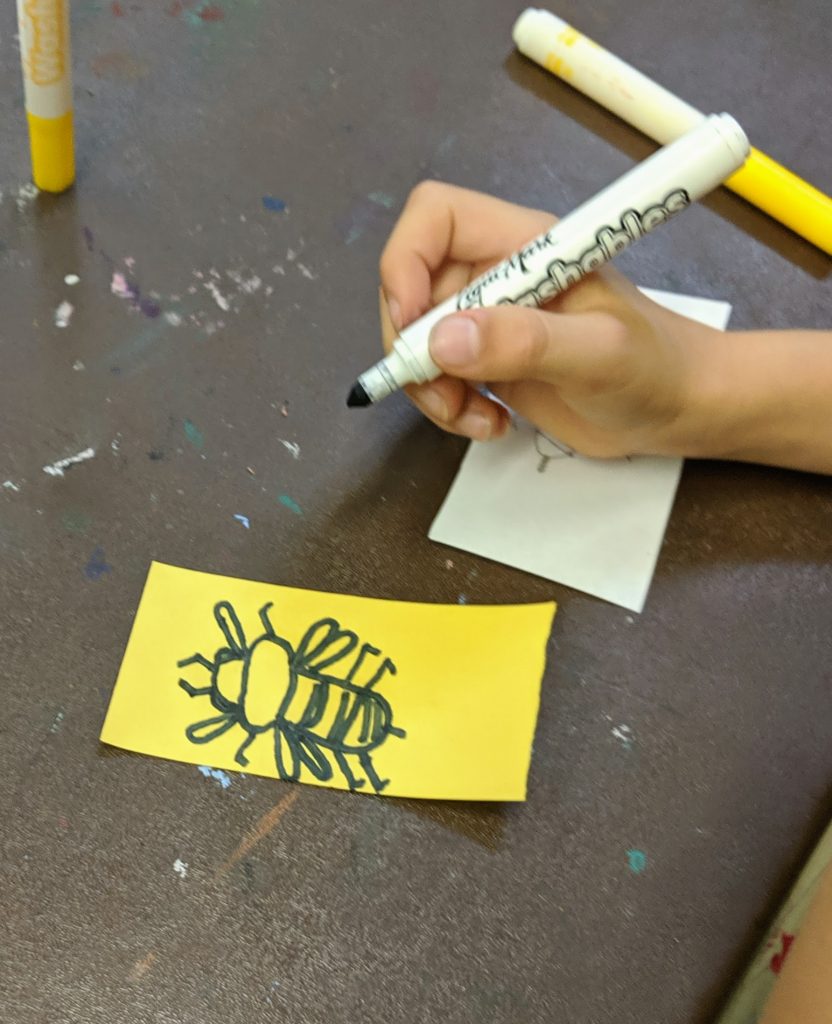
Once they were happy with their honeycomb-like backgrounds, they could choose yellow and/or white paper scraps to draw a realistic bee. I showed them how with step by step instructions. If they didn’t want to learn how to draw a real bee, they were welcome to make their own version, too. We had a family of bees, queen bees, a king bee, a DJ Bee with headphones, and even BEE-yonce!
We had so many different types of honeycombs and all the students were completely focused on this multi-step lesson!