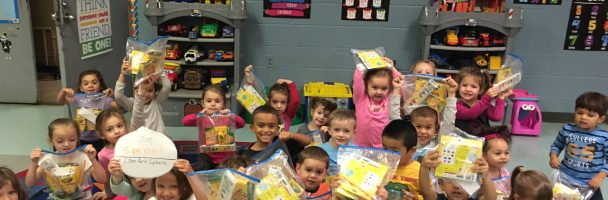
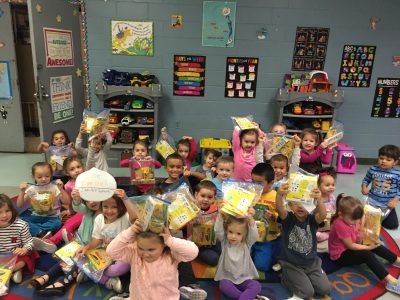
Before going into what we did this week, we wanted to give a huge thank you to Art Sphere Inc.’s donors, who were able to provide art supplies for all of the students at our recreation center programs. The students were beyond happy to have art supplies of there own, and are looking forward to make art at home!!
But before the students were gifted new art supplies, we did different crafts about butterflies!
We started off by reading the hungry caterpillar, and the kids worked in groups to glue pieces of fabric to decorate the wings of a large paper butterfly. You can find the lesson plan here:
The Hungry Caterpillar
Next, we learned about symmetry in butterfly wings. We talked about what symmetry means, and how the patterns on butterflies are the same on each wing, almost like what its like to look in a mirror. Each student received a piece of a paper with an outlined butterfly, painted one wing, and then folded the paper in half to create a print on the other side! We had a lot of fun!
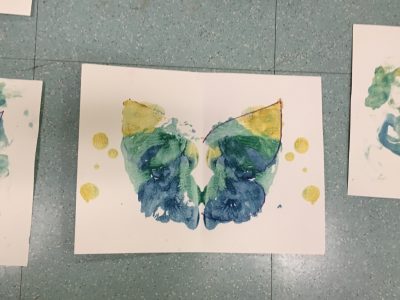
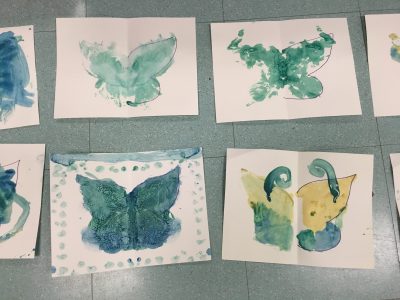
Project Title: Painted Butterflies
Description: Students will learn about symmetry by painting one butterfly wing, and then folding their paper in half to create a print of the other wing.
Author: Molly
Grade Level or Target Age Range: Preschool to elementary
Historical Art Examples or References: Examples of symmetrical patterns or drawings
Vocabulary: Symmetry, mirror image, print
Materials: heavy paper (card stock or water color), acrylic paint, paintbrushes, cups for paint and water, paper towels
Anticipatory set: Read the hungry caterpillar and discuss the butterfly’s lifecycle
Demo/Directions:
- Prepare the paper for the students by folding the paper in half vertically and draw an outline of one butterfly wing in pencil on one side. (If students are able, they can complete this step themselves)
- Read the story The Hungry Caterpillar and discuss a butterfly’s life cycle.
- Pass out materials, and direct the students to paint the one outlined wing. If it is tempting for students to paint the other side, fold paper so that only one side is visible.
- When students are done painting their wing and the paint is still wet fold the paper in half so that you create a print of the one painted wing on the other half of the paper. (Students may need help)
- Allow the students to touch up any areas they’d like to on the second wing.