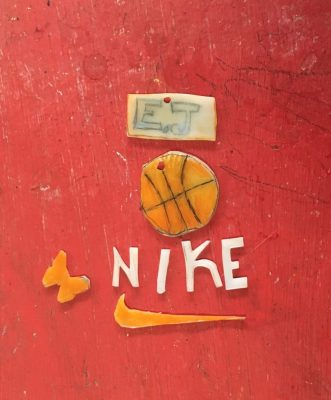
We had a lot of fun this week making Skrinky Dinks! I used to make Skrinky Dinks all the time when I was little, which was why I was so excited to teach my students how to make them; many of them had never even heard of Shrinky Dinks!
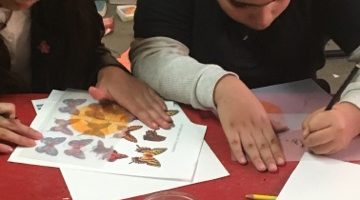
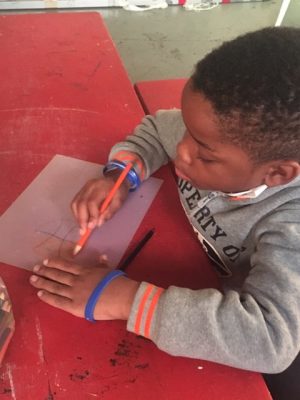
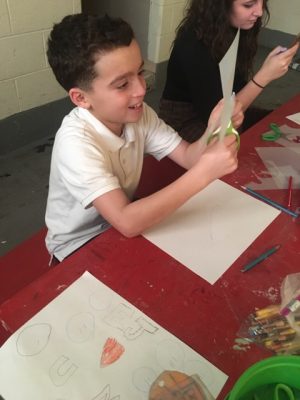
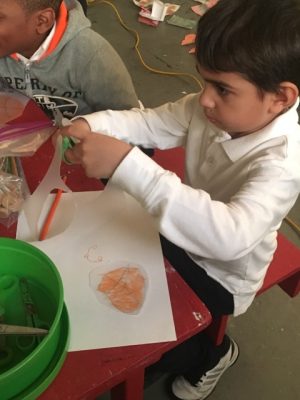
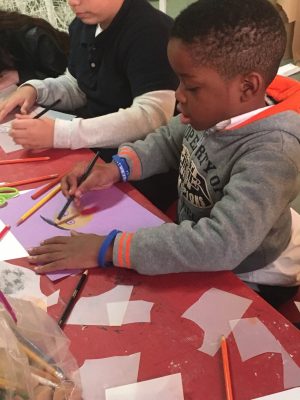
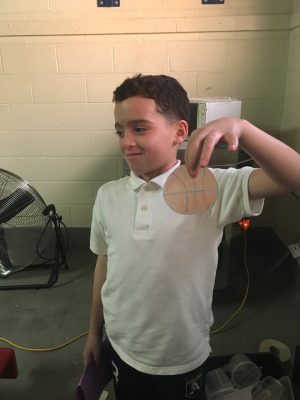
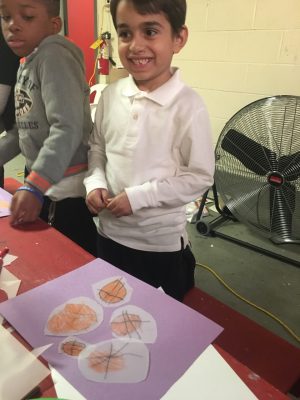
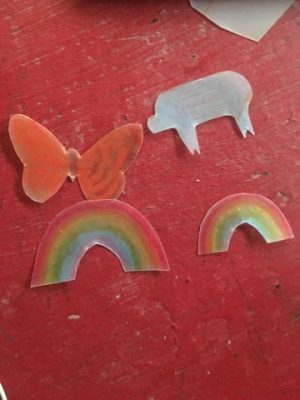
To make Shrinky Dinks, you draw on special Shrinky Dink paper (that can be found at most dollar stores), cut out the drawings and cook them in the oven according to the package’s instructions. After they’ve been cooked, the students’ drawings will have shrunk to be about one third of their size. They will also harden, almost to the texture of a bead or pin. Here are some pictures of the kids works in progress!

Project Title: Skrinky Dinks
Description: Students draw on special Skrinky Dink paper with colored pencils, cut their drawing out, and skrink them in the oven!
Author: Molly
Grade level or Target Age Range: preschool to middle school
Materials: Skrinky Dink paper, colored pencils, an oven or toaster oven
Demo/Directions:
- Draw or trace an image with colored pencils on the special Skrinky Dink paper. I handed out plain paper so the kids could test out their designs before moving on to the Skrinky Dink paper.
- After the students are done drawing, have them cut out their drawings with a pair of scissors. Depending on their age and shape of their drawings, students may need help with this step.
- Follow the Skrinky Dink package’s instructions to cook in the oven. This step may need to be completed outside of class and returned to students at a later date.