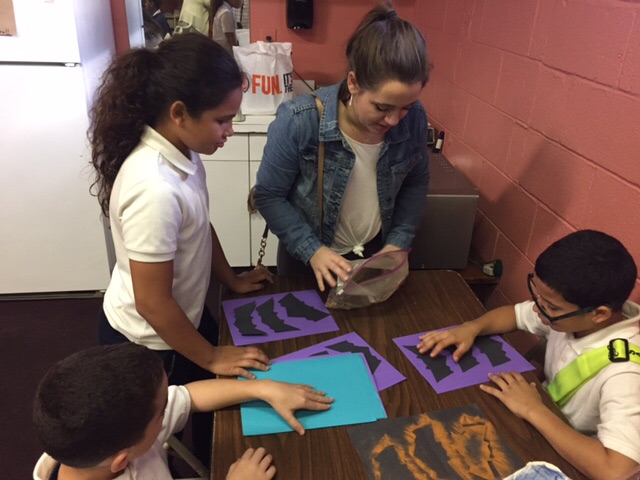
Today at Towey Recreation Center we made a *belated* Halloween project… pastel bats!
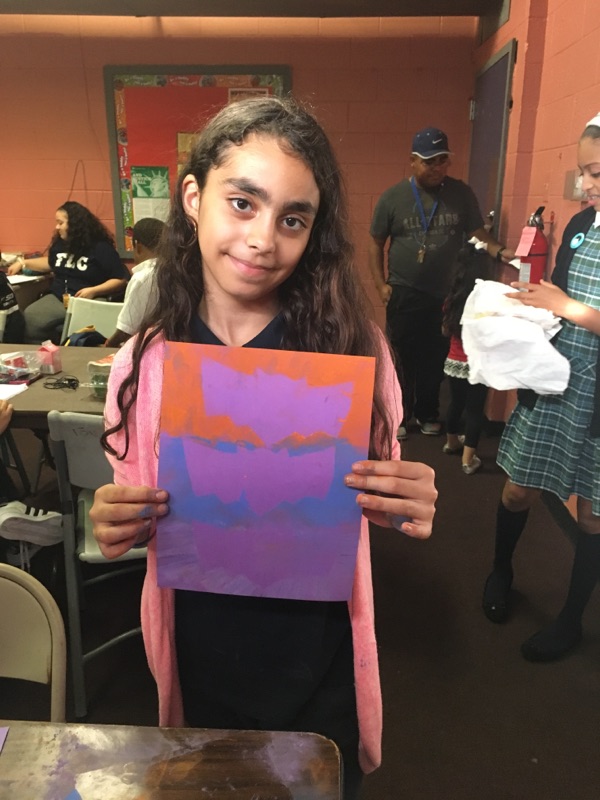
The students received a piece of construction paper and taped three cut out bats on top. Next, they colored the bats with chalk and spread the color out away from the edges of the bats with their fingers. When they lifted up the three bats, they saw that they had captured their silhouettes!
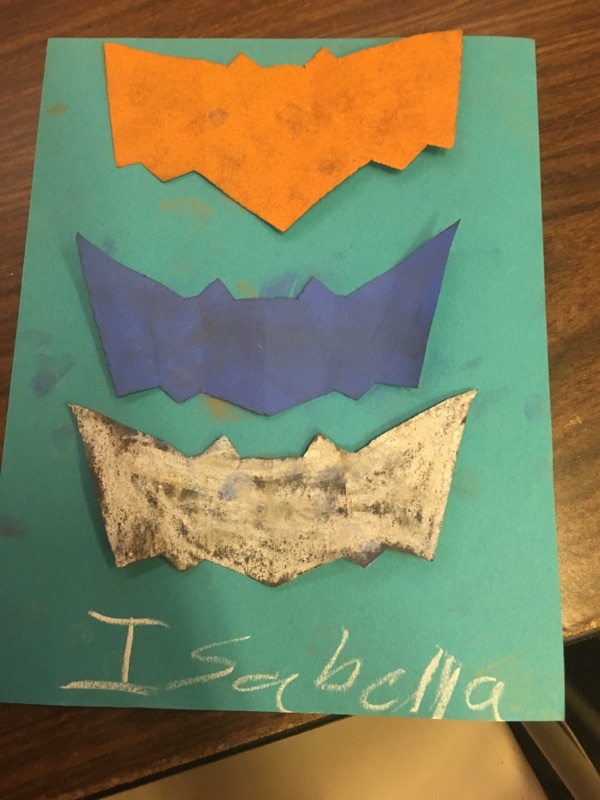
Then they had the option to keep their three bats and attach them to another piece of paper. Two drawings in one! Find the lesson plan for this project below.
Project Title: Pastel Bats
Description: Students will color with chalk pastels over shapes of bats, creating a picture of their outline
Author: Molly
Grade Level or Target Age Range: Preschool to elementary
Art Historical Examples or References: Show students images of handprint cave drawings. In some of these drawings, humans threw pigment at their hands creating an outline of where their hand was, just like what students will do in this project.
Vocabulary: Outline, silhouette, pastel, positive/negative space
Materials: Construction paper, chalk, tape, scissors, glue sticks (optional)
Demo/Directions
Show the students an example of the project, and explain how it will work.
Hand out the prepared pieces of construction paper (three separate construction paper bats taped onto another piece of paper). To make this step more challenging, allow students to prepare their piece of construction paper: have them choose a shape to be their stencil (such as a bat), cut that shape out, and tape it onto another piece of paper.
Instruct students to color on top of their bats. Using their fingers, have students spread the chalk out and away from the center of their bats and around all sides.
Carefully remove the bats to reveal the outline the students created.
Have students tape or glue their bats onto another piece of paper. Students will finish with two separate drawings.