It is our last day creating with Fishtown Tot Rec for our Spring Session. Next week, we will have all of our artwork on display for parents and kids to admire! What an exciting time for our young artists.
This week, we explored books and book making. By incorporating folding, printmaking processes, as well as sequencing, our students created tangible works of art that are archived for a lifetime.
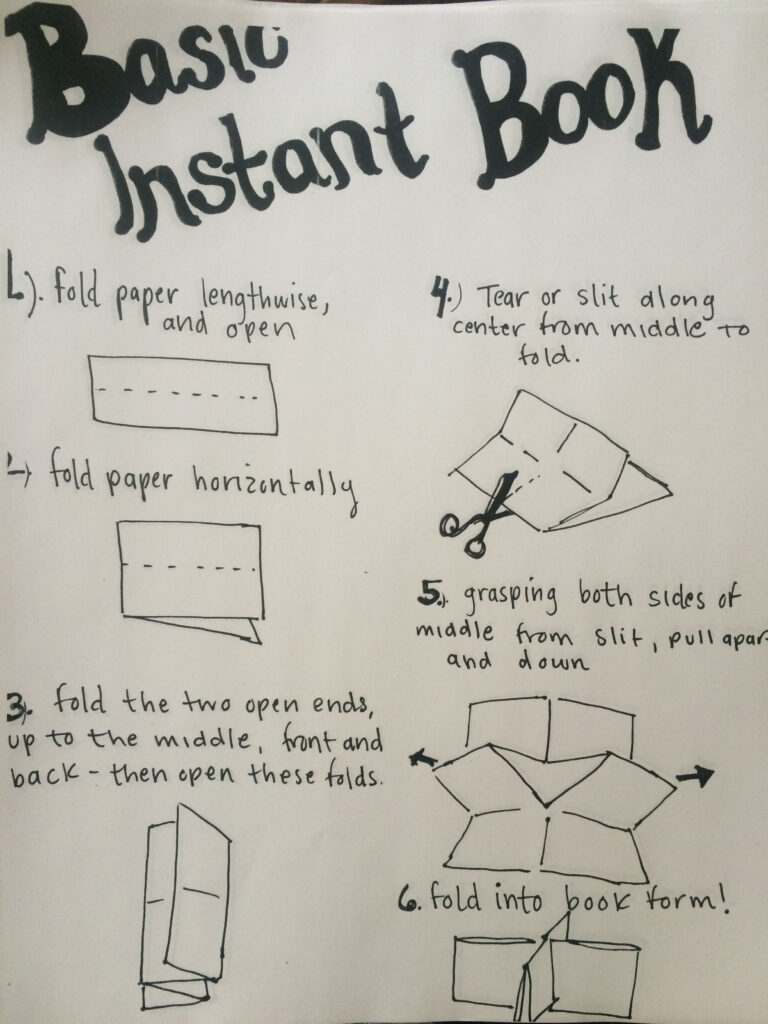
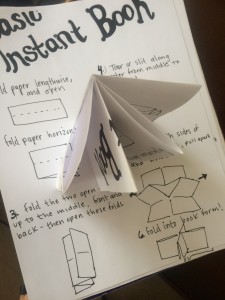
I introduced the classroom to a quick book technique that many zine makers use today. It is also known as the Basic Instant Book fold.
The handout was cut and folded as instructed, and also given to students as part of their lessons for art making at home.
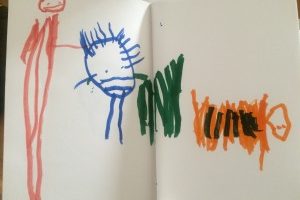
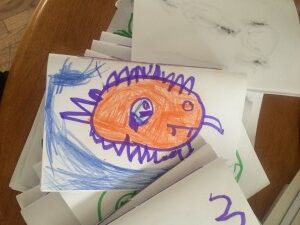
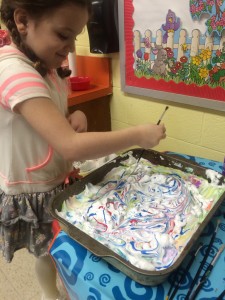
During the lesson, the kids were given creative journals to work with in class and at home with their art box materials that they received last session. I thought that they might enjoy using some time to let their creativity flow while each student was guided one by one to make a marbled paper cover for their journals. Each of our students have made great attempts to make original work outside of myself and Diana’s guidance this session, but seeing some of their works on paper has shown me exactly how unique their imaginations are.
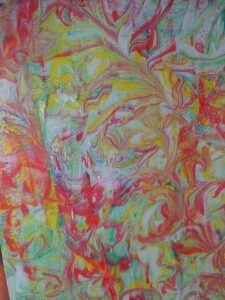
Marbled Paper
This is a fun way to introduce printmaking processes into the classroom. Mono printing is a traditional way of making images, using oil based inks, plexiglass, and heavy weighted paper. In this process, we are making abstract designs to be imprinted onto our paper for use in other projects.
Materials:
Shaving Cream Heavy weight paper (cardstock or watercolor paper will do) Acrylic paints or food coloring Basin or pan to put shaving cream in (I used a roasting pan) Squeegee or popsicle sticks to remove shaving cream Paintbrush
Start by filling the basin or pan of your choice with a nice layer of shaving cream. Dribble paint or pigment of your choosing into the shaving cream. We used up to three colors but you are welcome to try more. Keep in mind that the shaving cream will get muddled with additional pulls of prints.
Using the end of a paintbrush, delicately swirl the pigment into the shaving cream, creating delicate patterns for your paper. Press a sheet of paper gently into the shaving cream, making sure that each corner and center areas has made contact with the paint. Pull the paper from one corner, and rest image shaving cream side up before squeegeeing the print. The paint will need a moment to rest or else the marbled design may smear. Hang to dry.